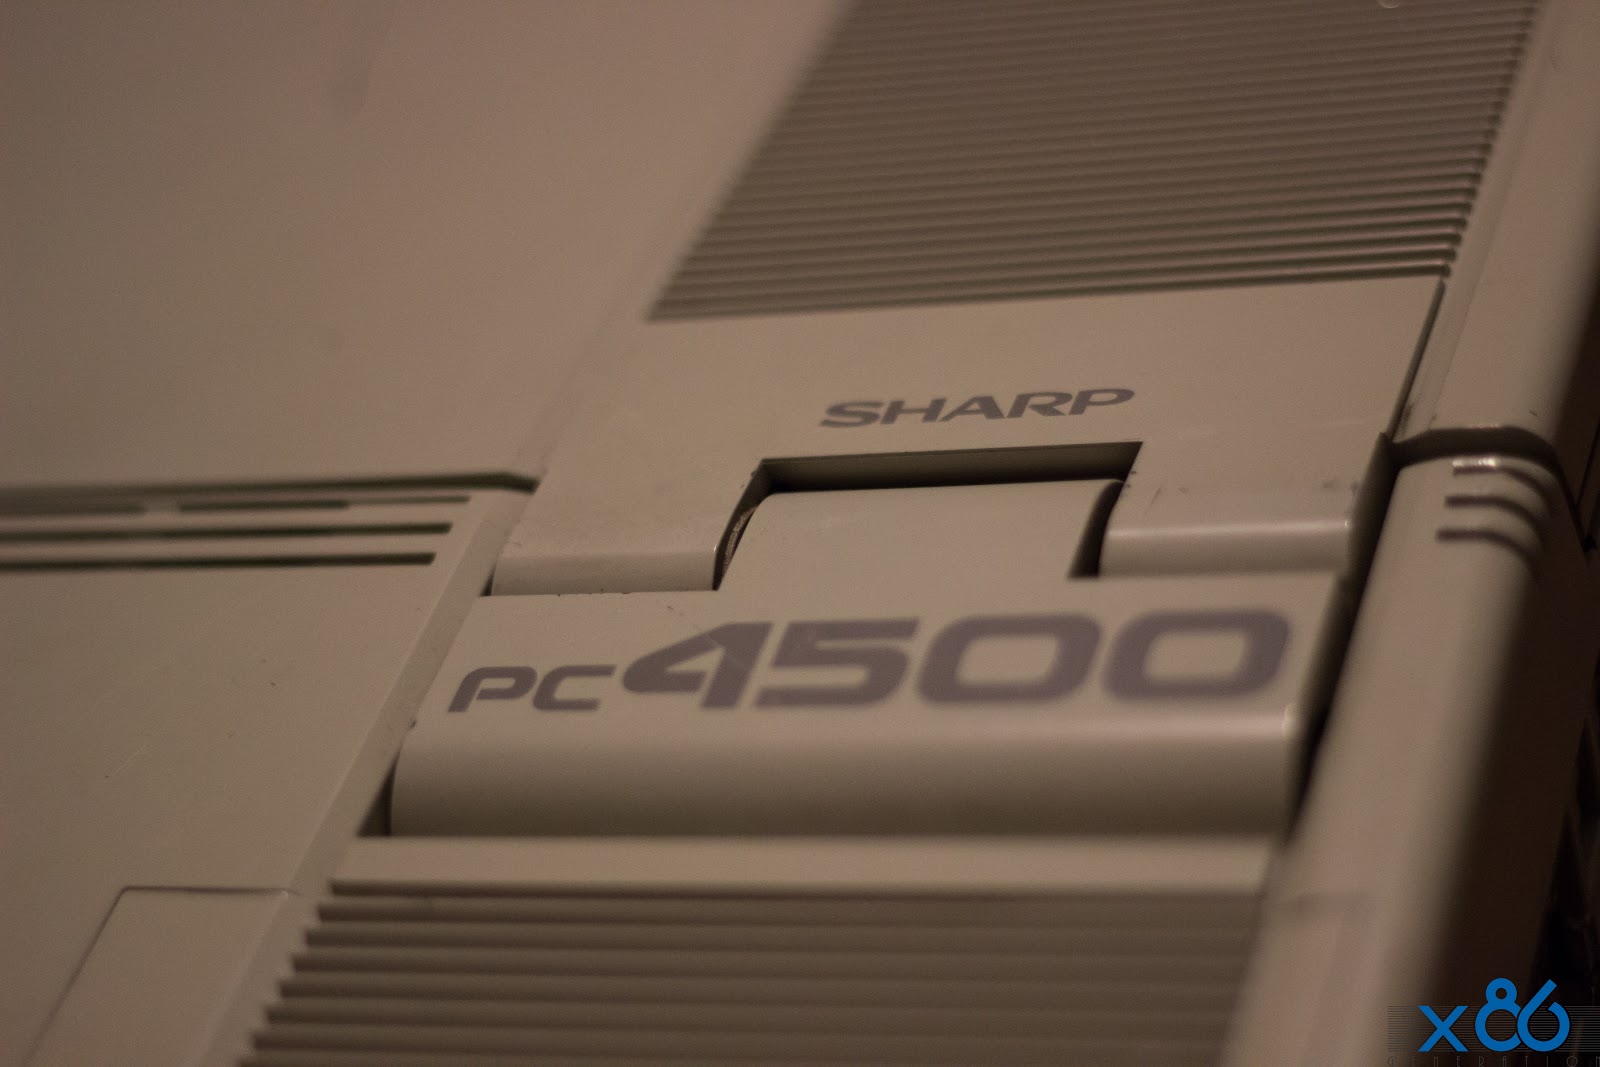
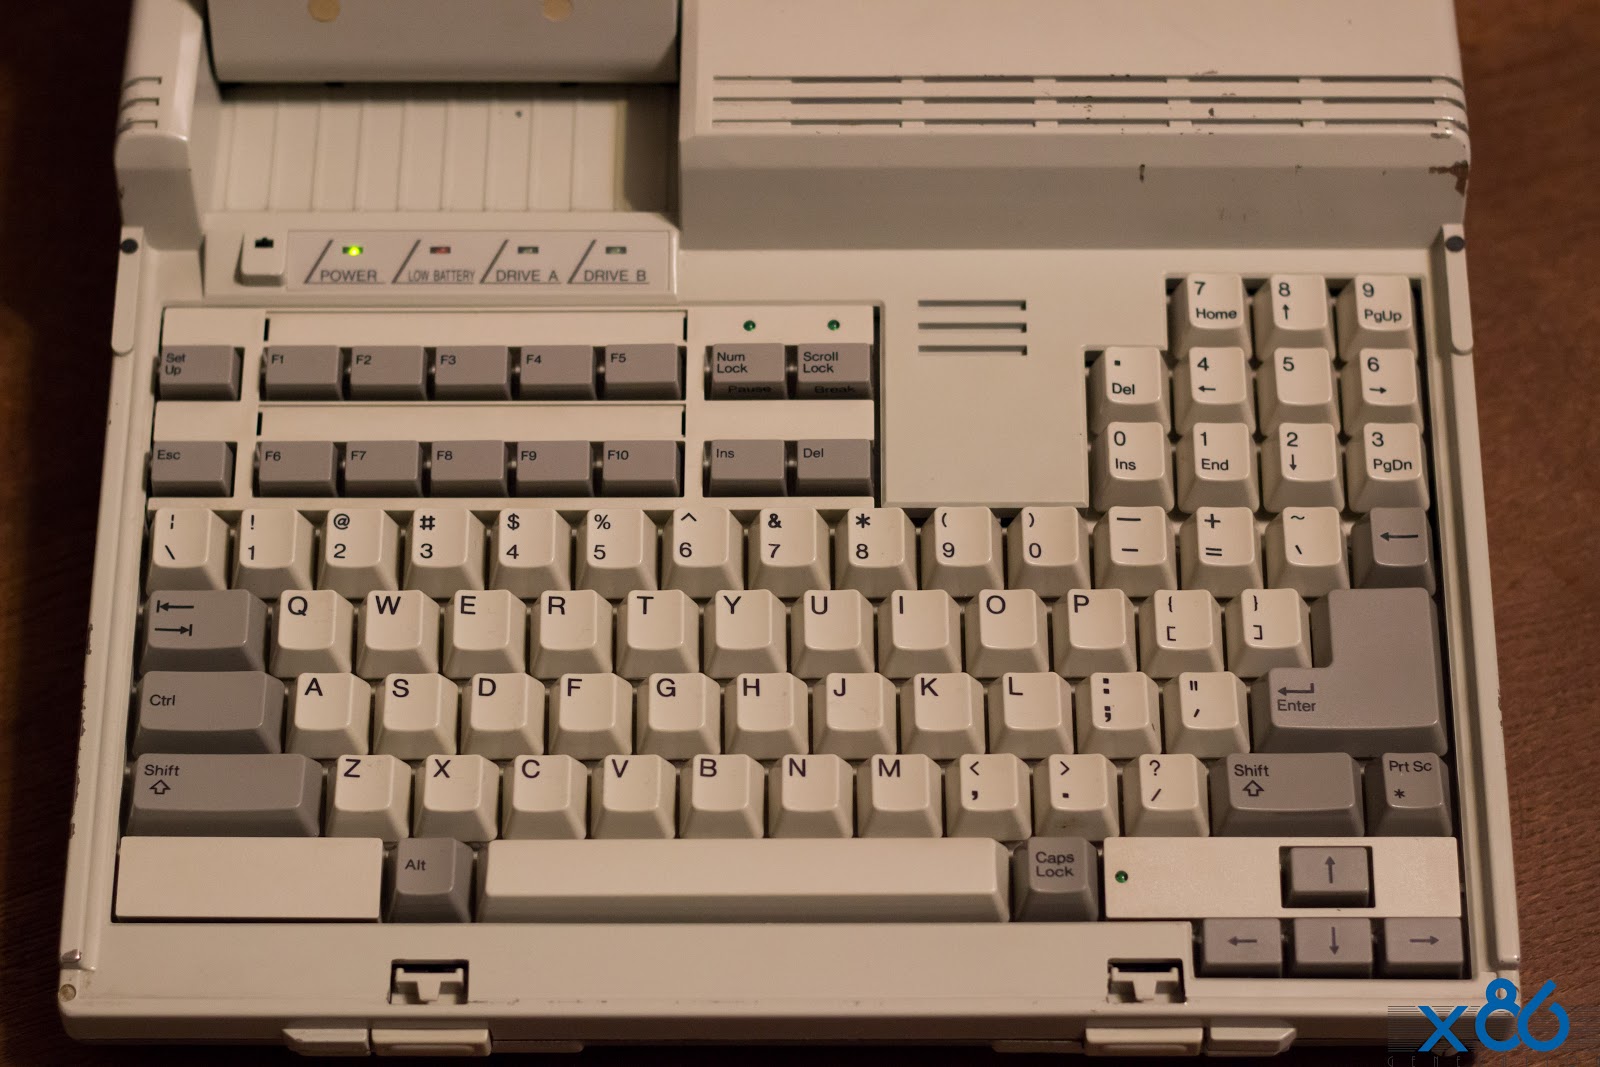
Sharp PC-4500 (4502)
Restoring History
Release date: October 1987
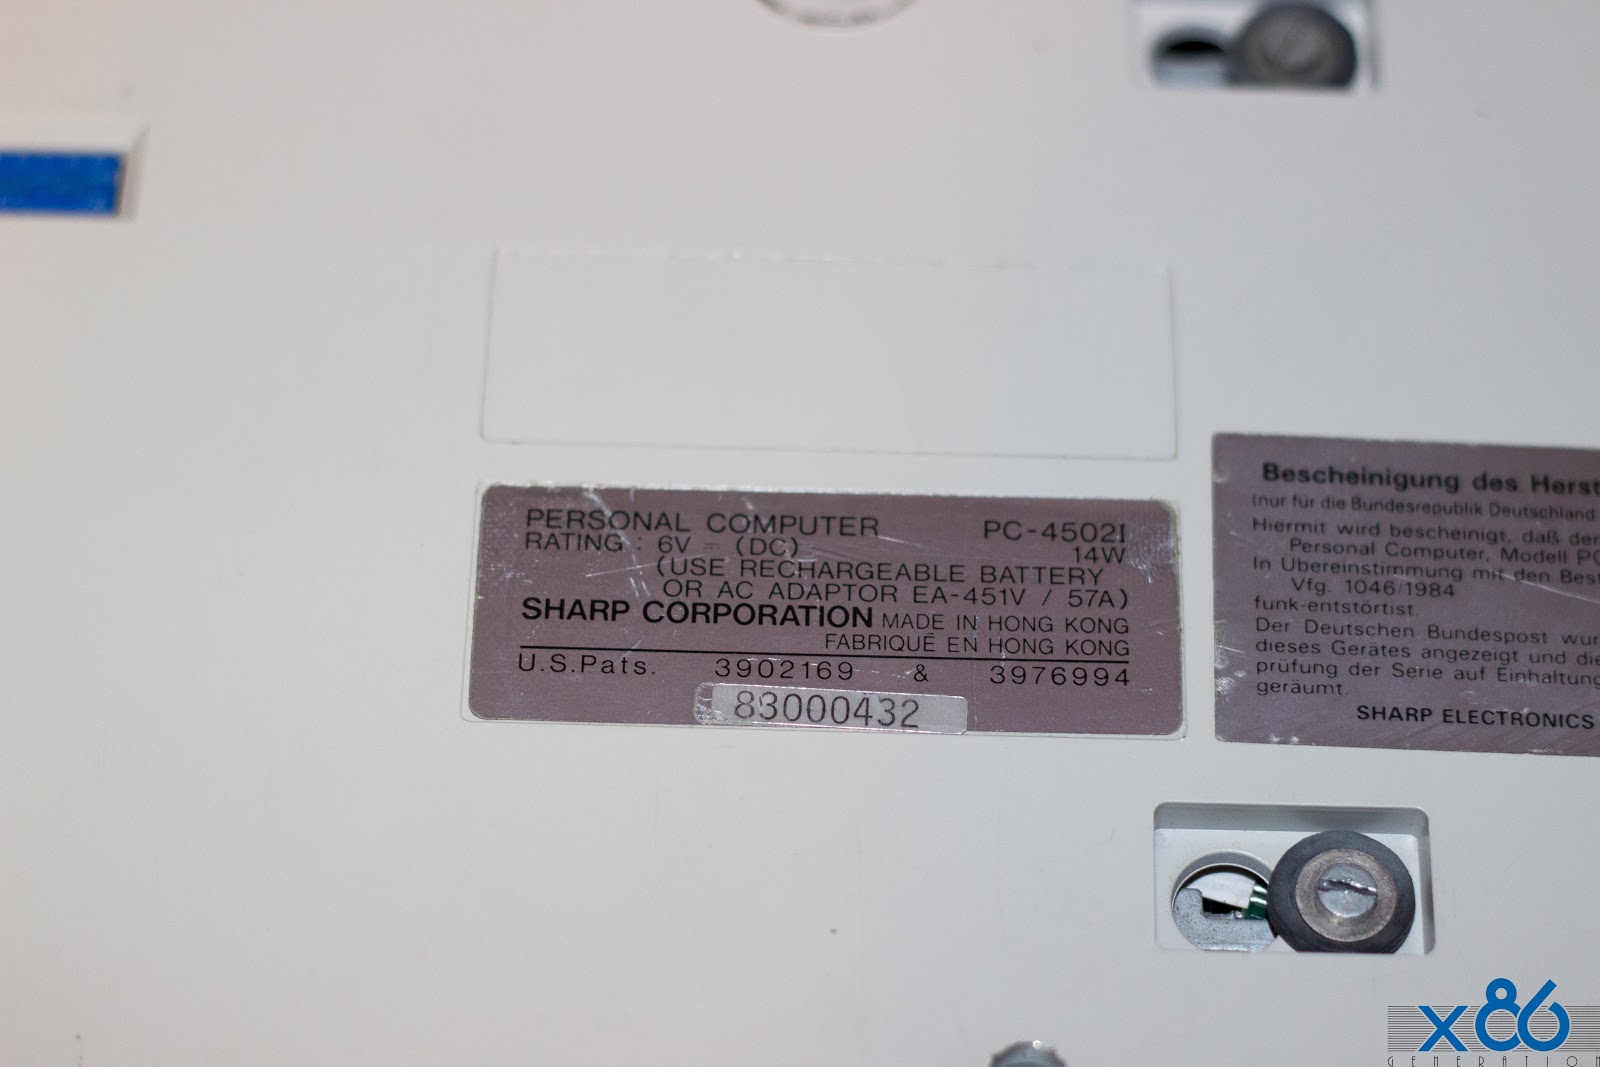
Reference: PC-4500
Processor: Nec V40 at 7.16 MHz or equivalent (compatible with i80188)
Memory: 256 KB or 640 KB RAM expandable to 1.6 MB Including 1 MB of EMS memory
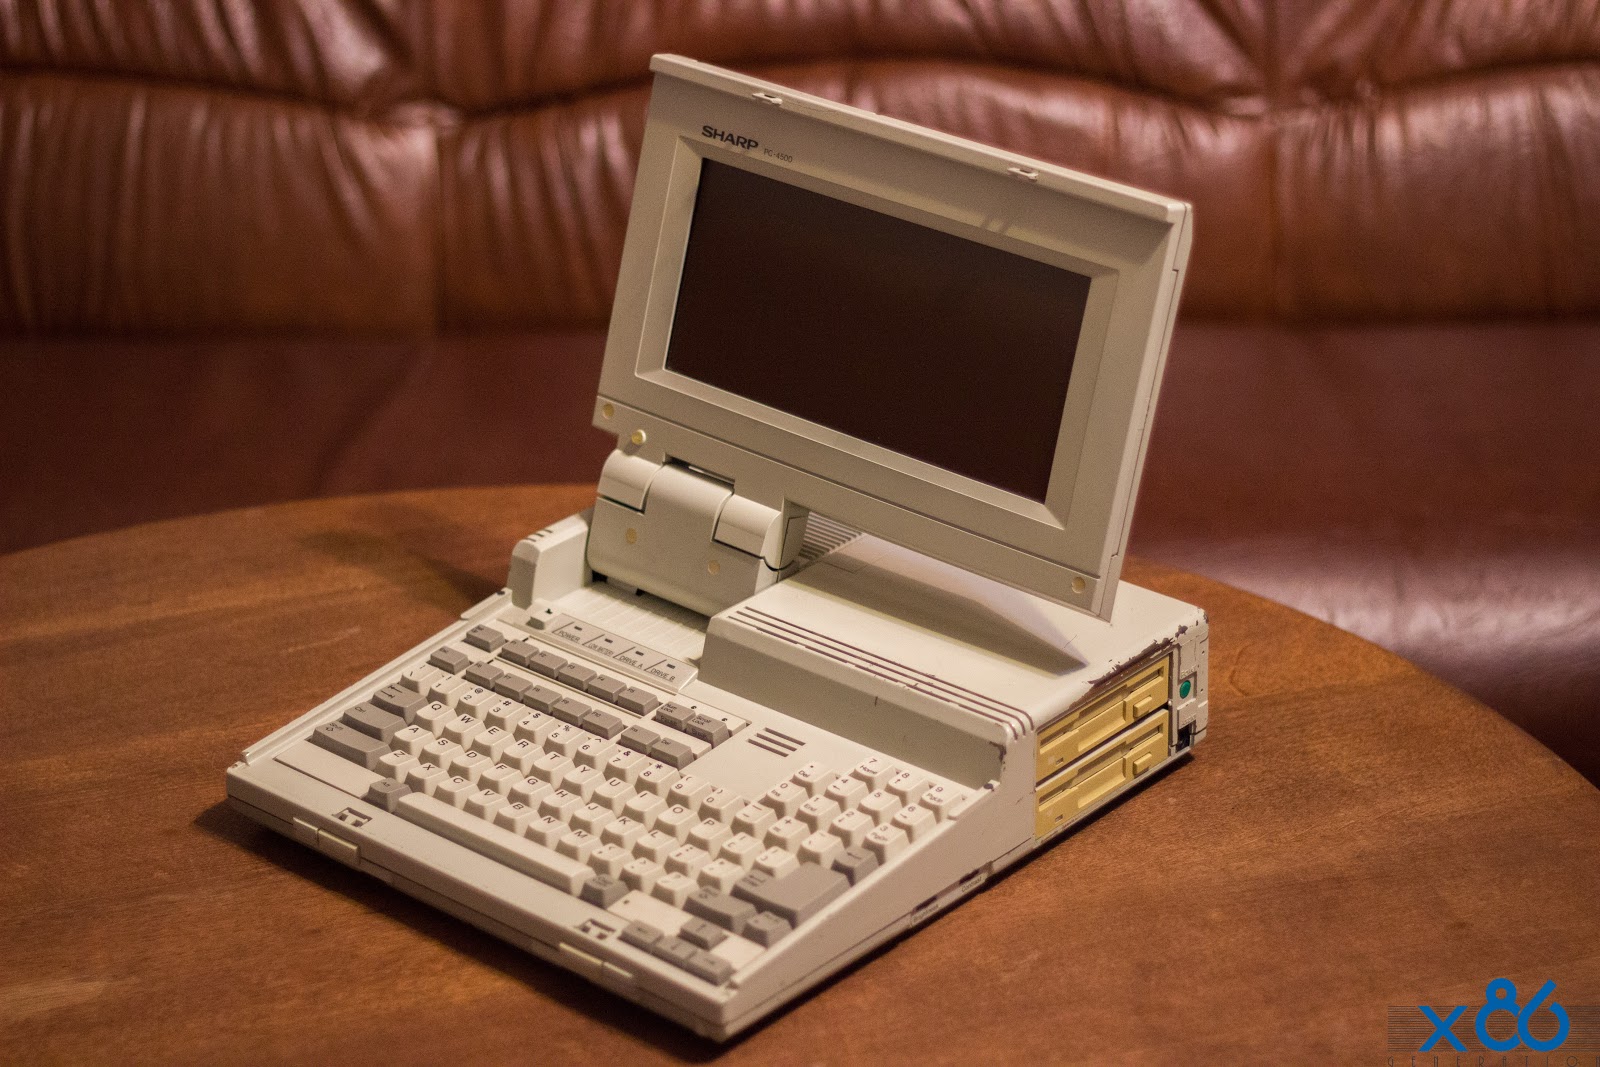
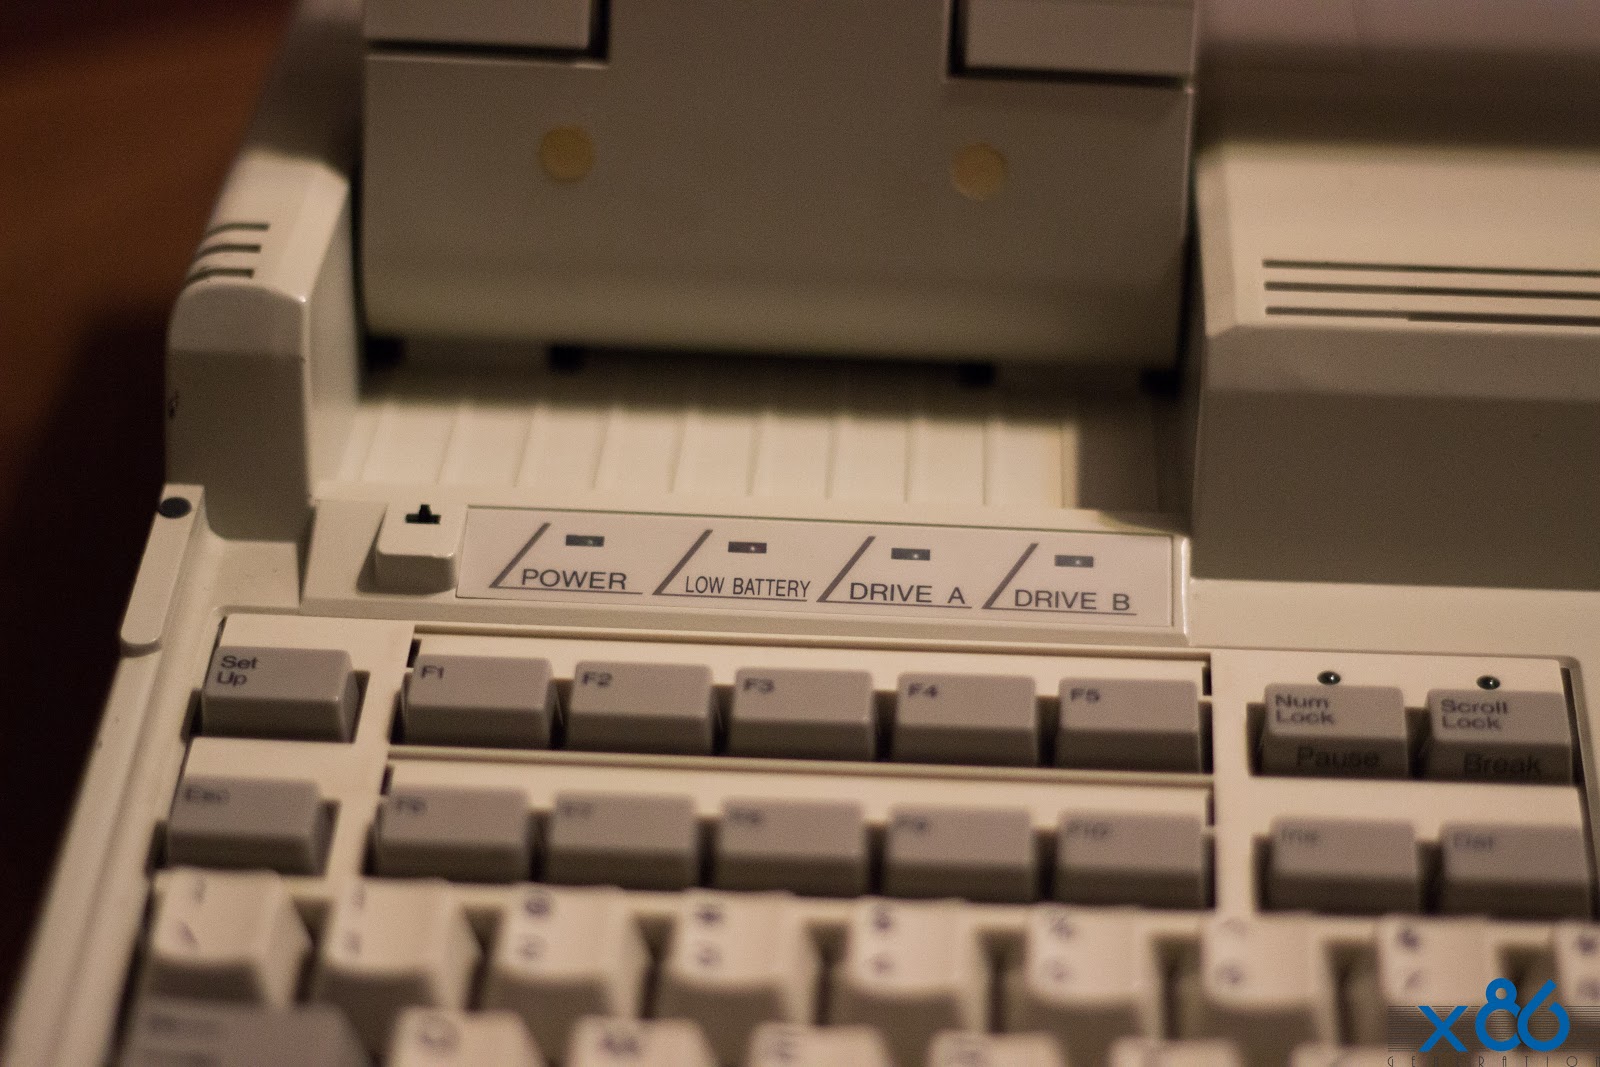
Display: CGA compatible monochrome LCD display (Backlit on models 4502 and 4521)
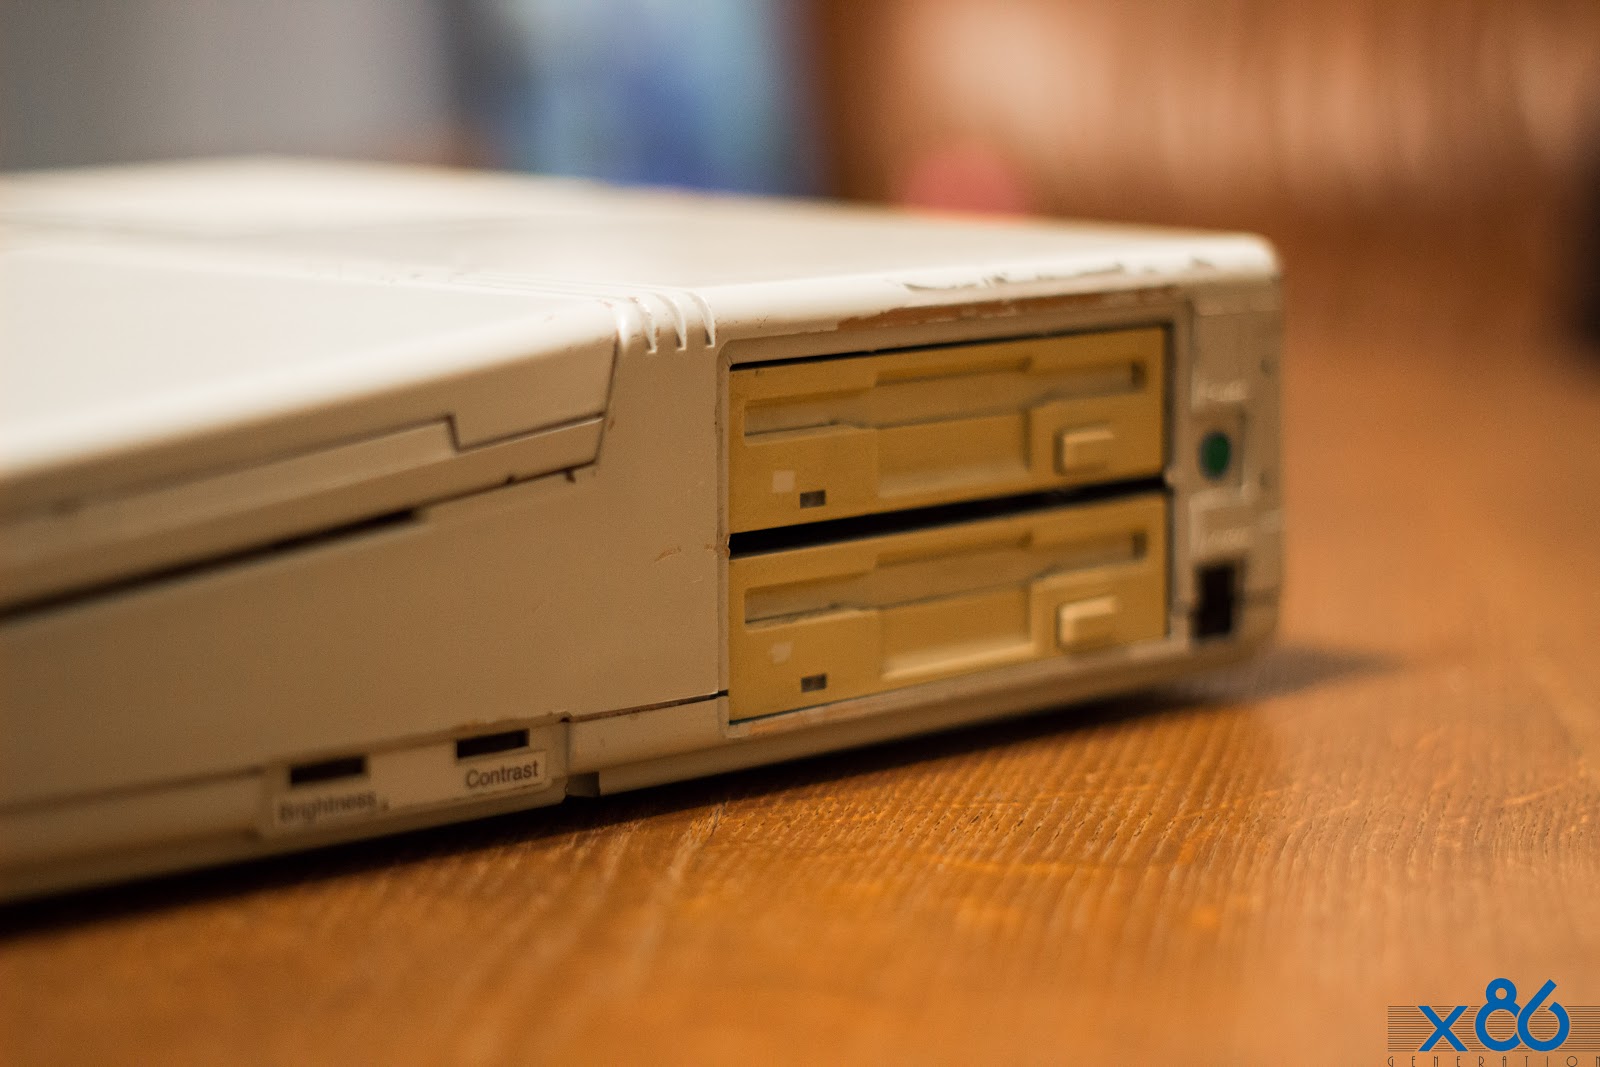
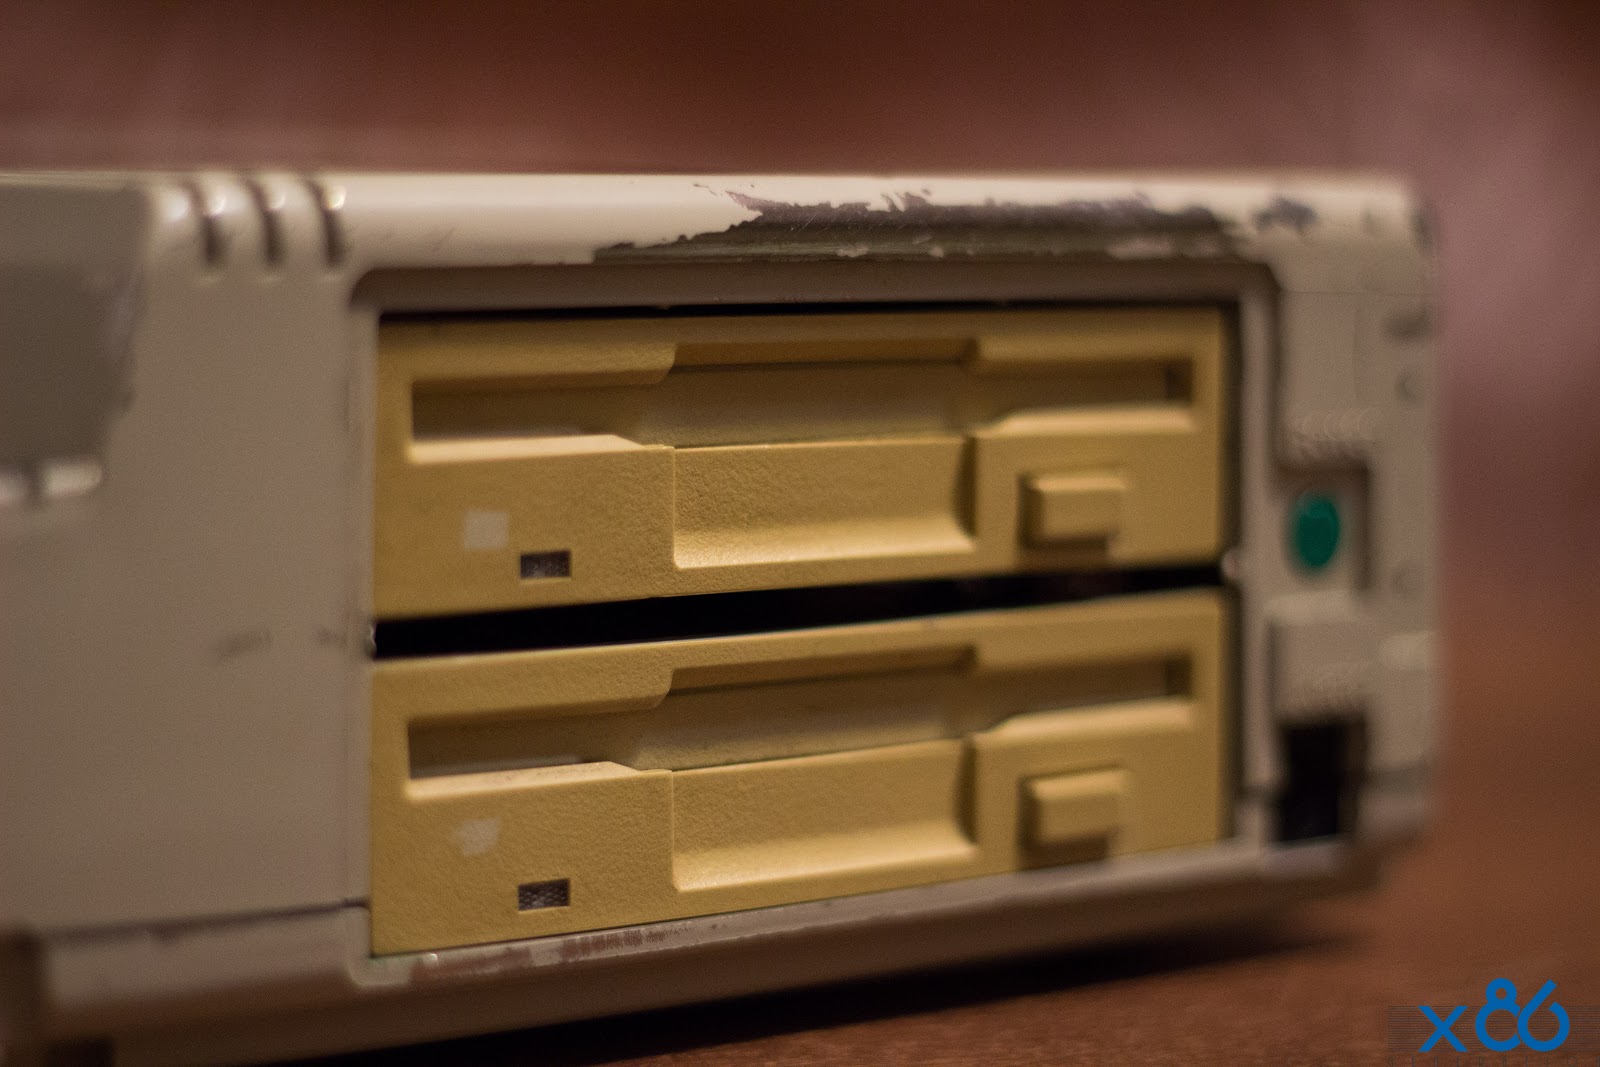
Storage: 1 or 2 floppy drives 3 "1/2 of 720 KB
 |
| Original Add |
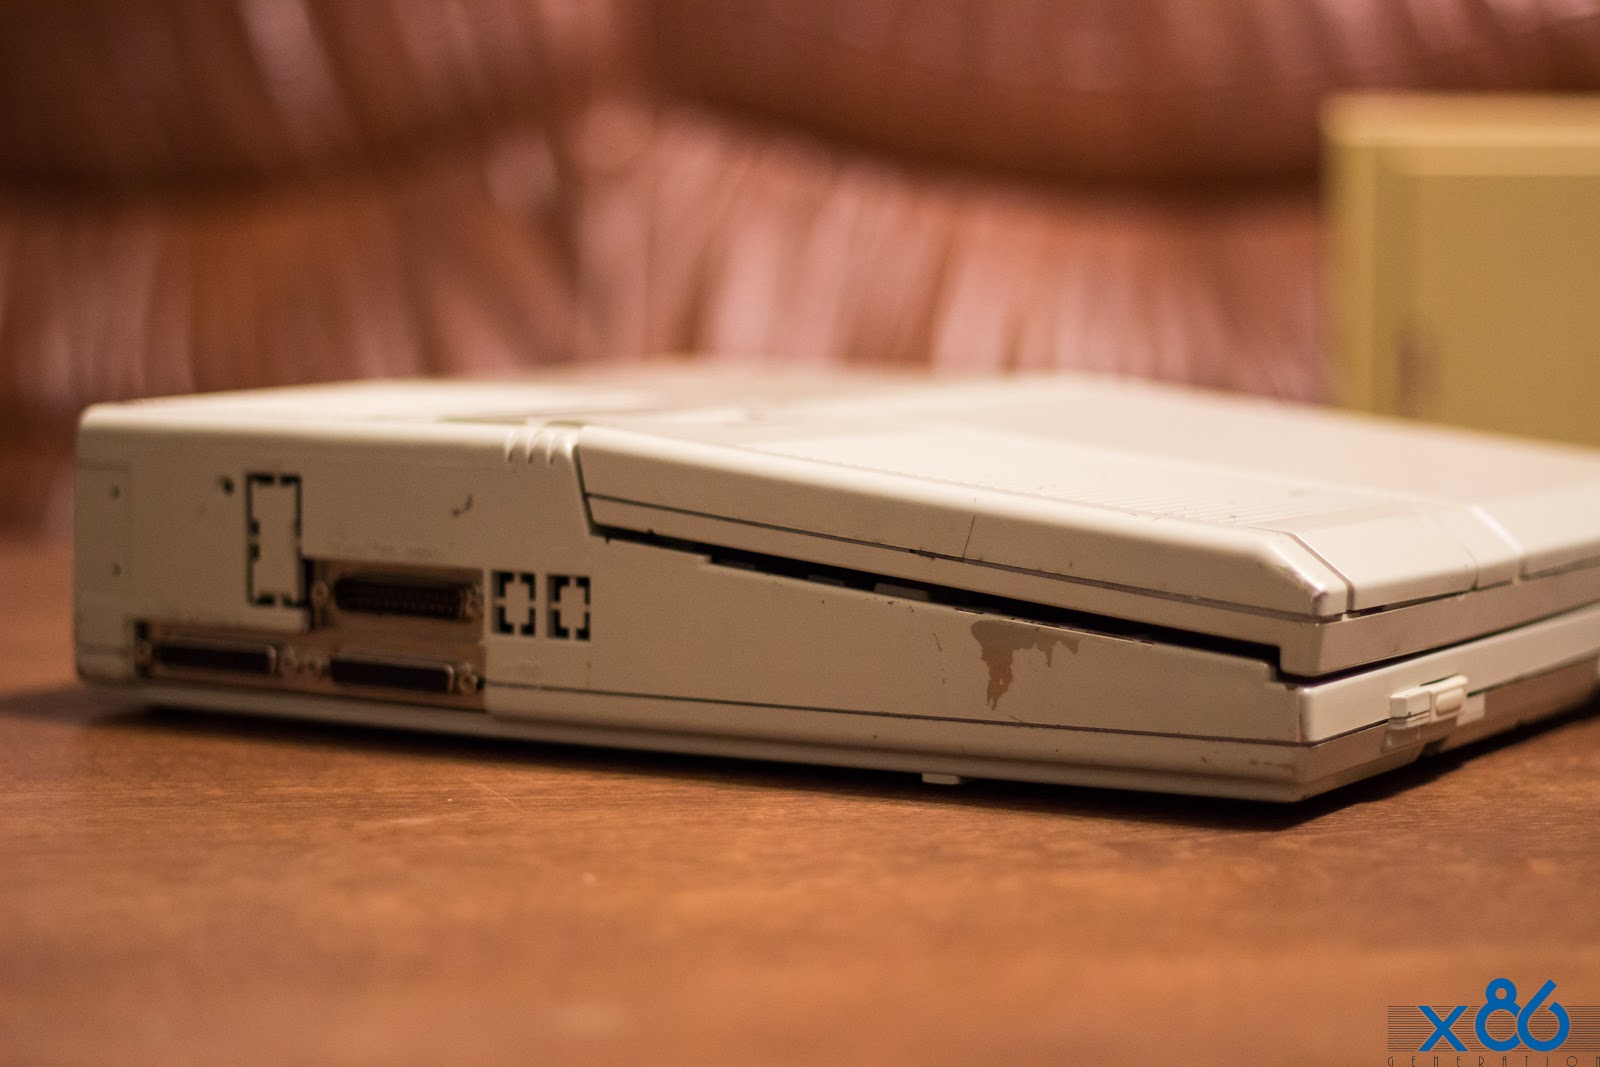
Interfaces: Parallel
1200 baud modem and optional external CGA
Software: Ms-Dos 3.2 Sharp
Particularity: Announced at Comdex Spring 1987 and marketed from October of the same year, this entry-level PC compatible PC is sold at a rather competitive price. The compatibility is good but the performances are not extraordinary. Note that it requires a version of Ms-Dos of origin Sharp to start.
3 versions ever existed:
PC-4501, 256 KB with 1 drive, LCD not backlit
PC-4502, 256 or 640 KB with 2 drives
PC-4521, 640 KB with 20 MB hard drive
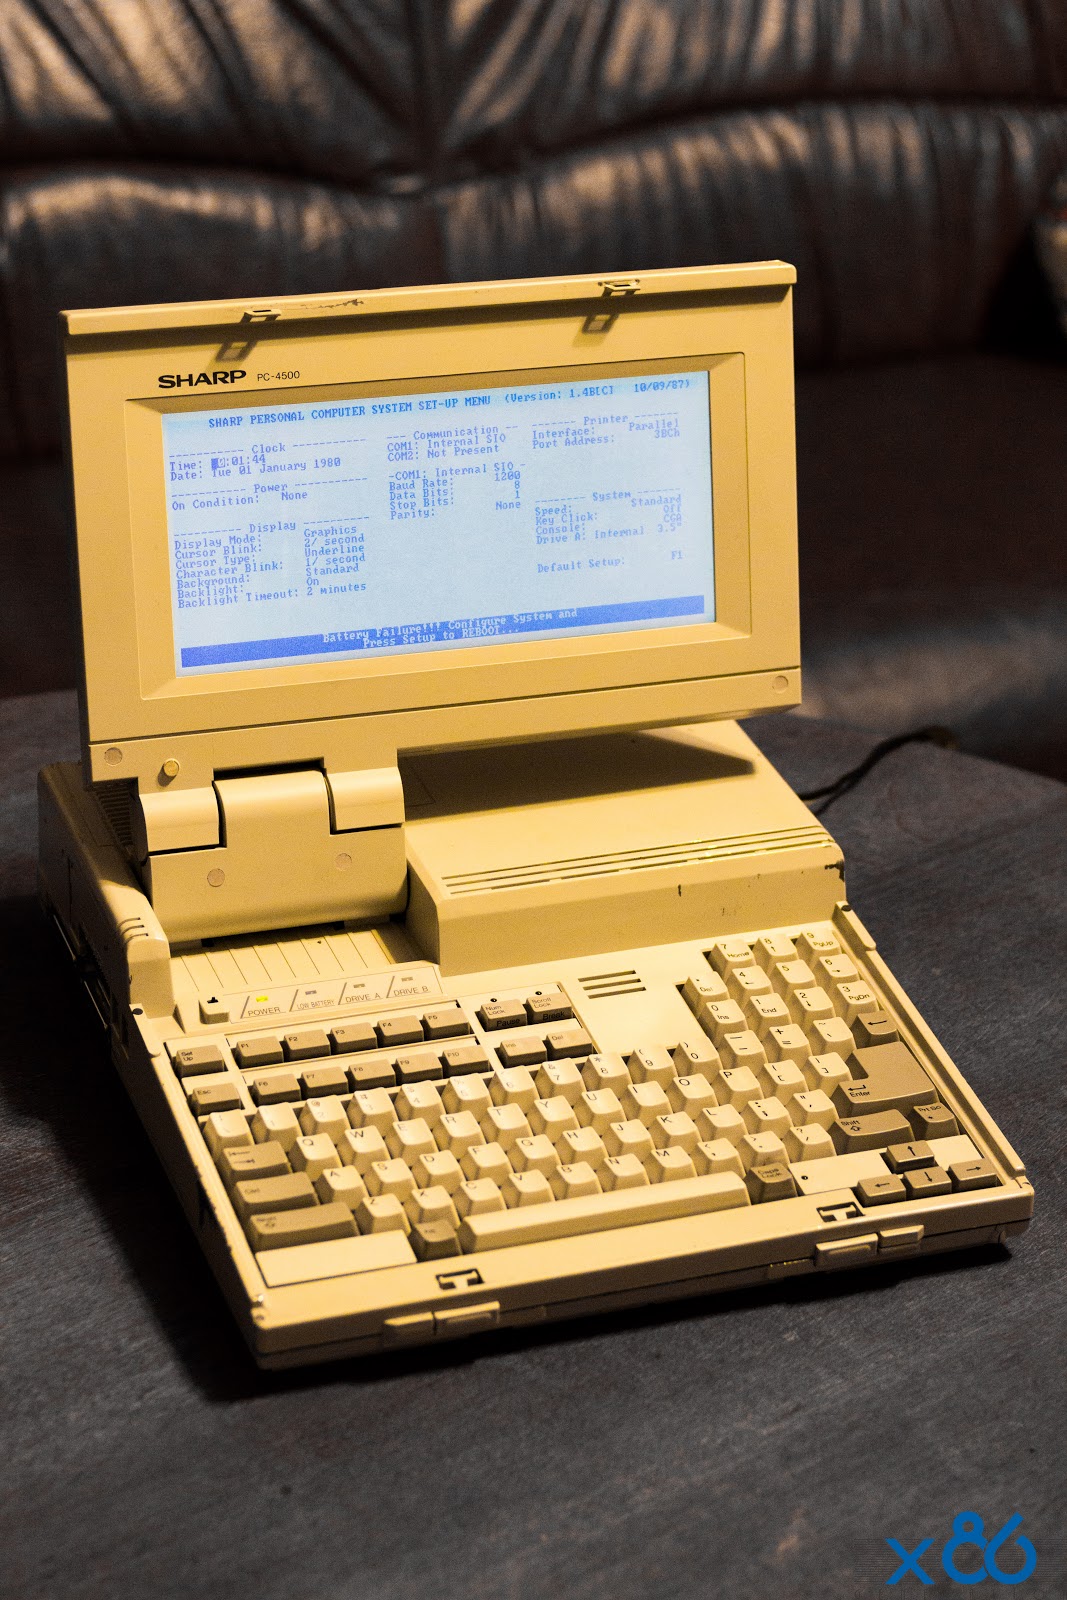
My machine is a PC-4502, 2 Floppy disks, no HDD, back-lit display.
I got this machine 2 weeks back of the internet from a guy who said that it does not know if the machine is in working condition.
I am not very happy that I did not make any pictures how the machine looked when I got it but I can rate it a 5 out of 10.... and I will show you why.
GENERAL PROBLEMS:
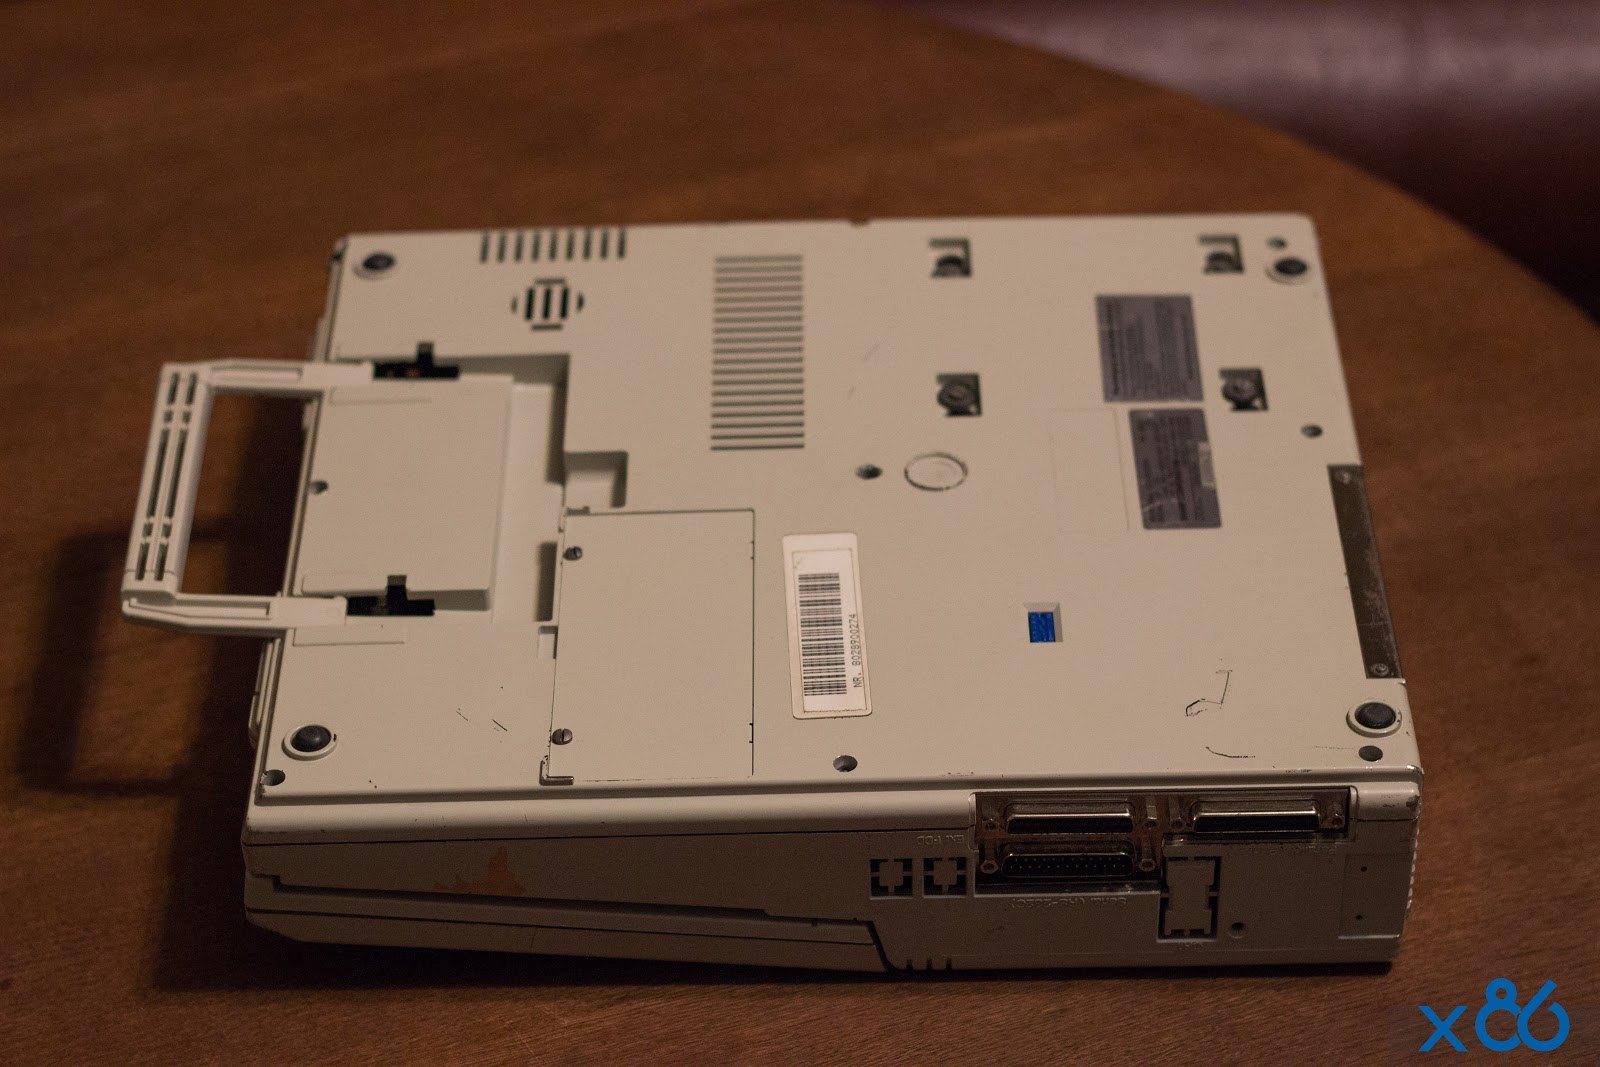
1) The DC IN connector and wiring is missing.
2) The DC POWER BUTTON is missing.
3) The Floppy drives power connectors are missing. Power cables from the Power Supply to the motherboard are damaged and a few blown capacitors.
4) Missing bolts and screws
5) Cracked case
6) No AC Adapter
1) The DC IN connector and wiring is missing
This unit was completely butchered by someone who has no idea how electronics work. It seems the unit had some problems booting so someone just messed with the cables.
I had to rebuild the whole POWER CONNECTOR SOCKET!
Parts Used: DC Connector (from an old Toshiba notebook), piece of black thin plastic, soldering gun, poxipol-plastic welding, superglue and a LEGO piece :)
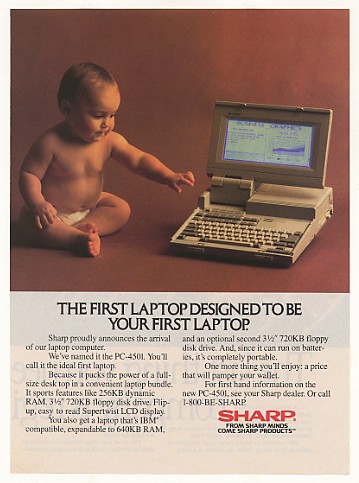
I started by cutting a square piece of plastic with a hole inside, same plastic as a credit card and fitting it into the unit with a drop of super glue, just so it would hold on when I will apply the other stuff. I needed this in order to mask the DC connector so when the unit will be assembled it will look like the original does.
 |
| Thin plastic square with a hole for the DC IN Connector |
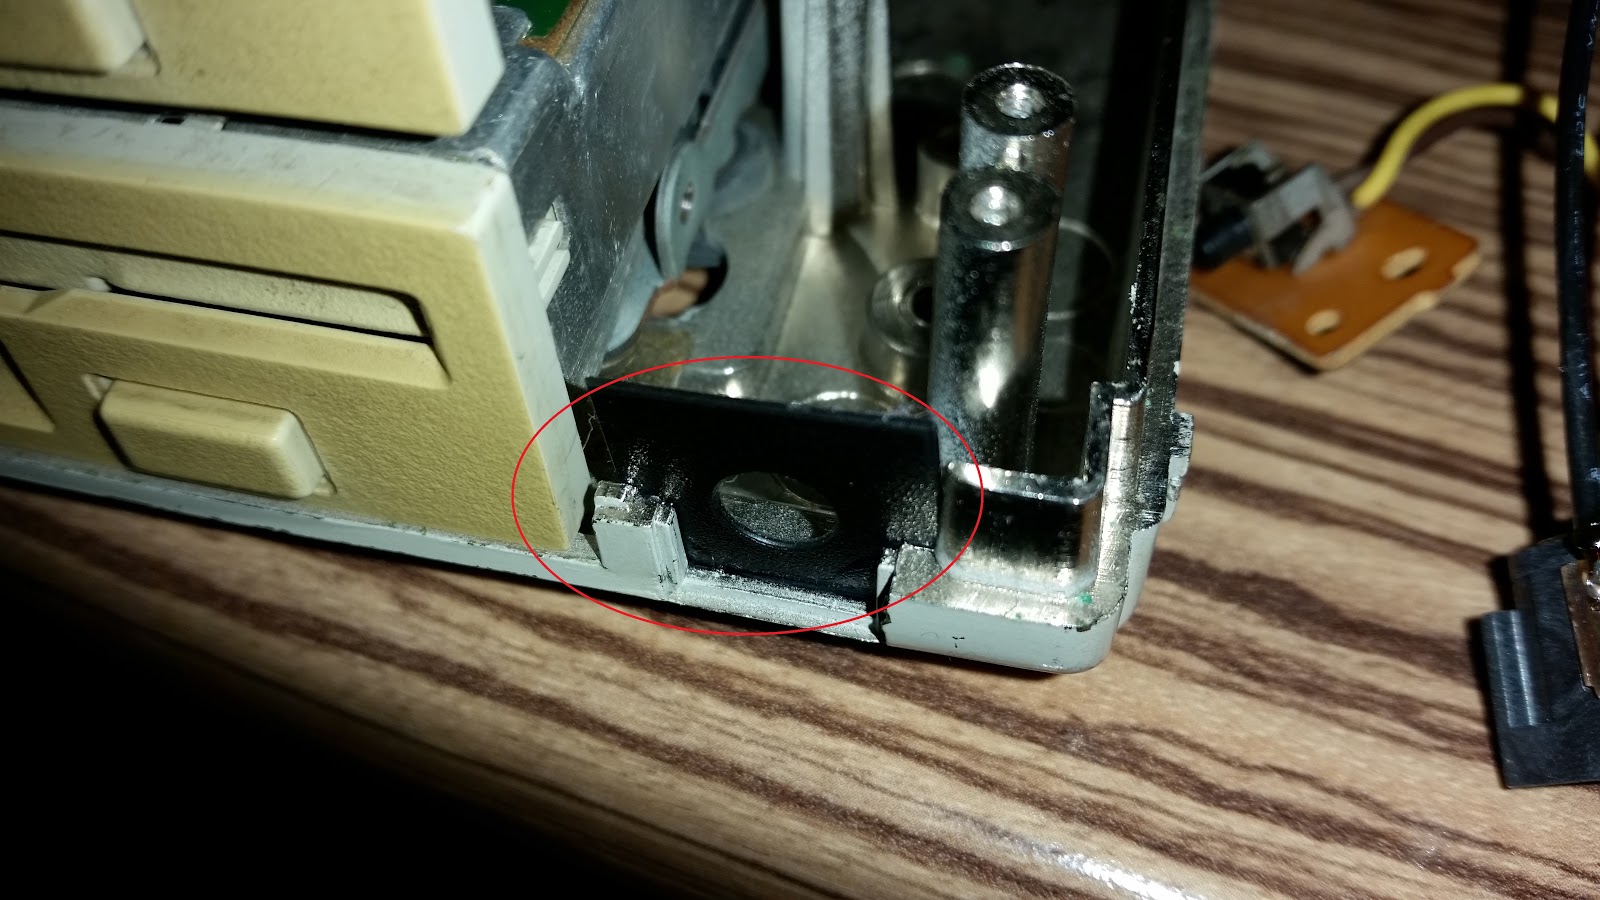
I needed to find a way to mount the DC connector a little higher so it will perfectly fit like on the plastic squares hole.
So I found a permanent fix: LEGO!
 |
| Bringing the base at the right size so the DC connector will perfectly fit the hole |
I had soldered the + and - wires on the DC connector. THE SYSTEM BY FACTORY HAS THE CENTER PIN AS NEGATIVE. As I have a more modern Power Adapter I will use the center pin as + .
 |
| DC Connector - Not Original one |
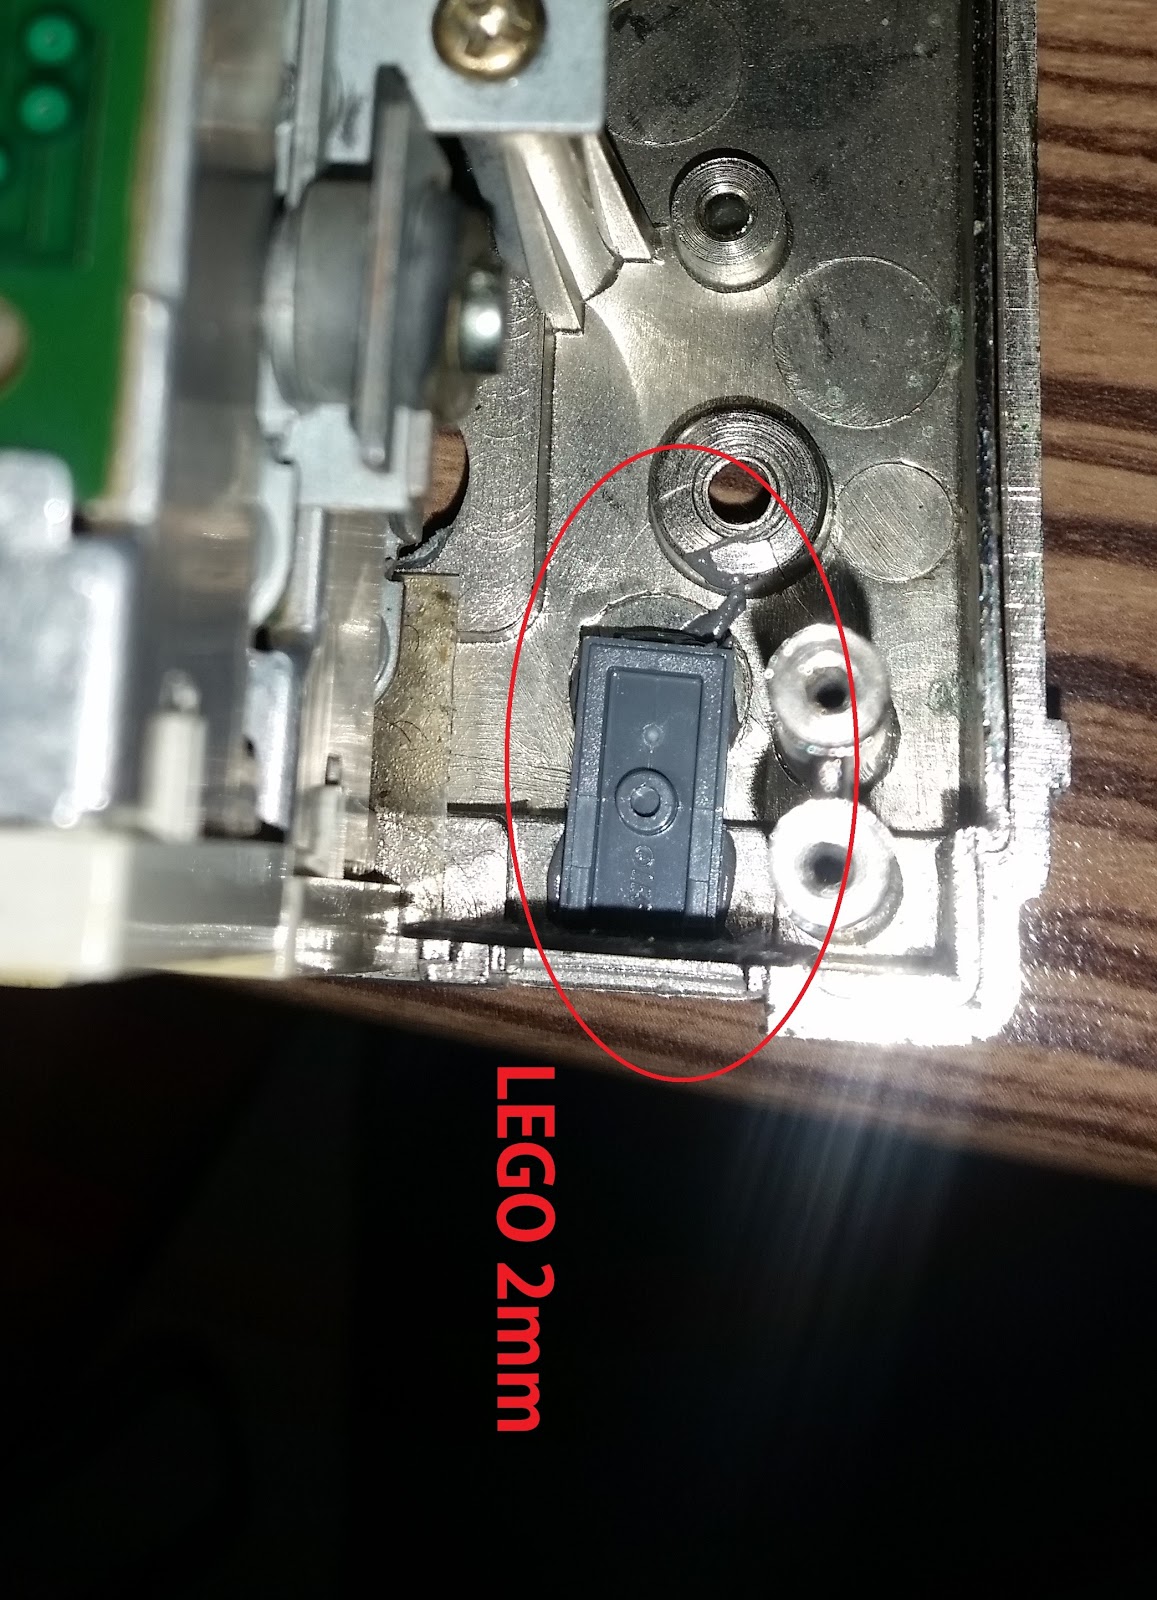
Again I used plastic welding and fitted the connector on the LEGO piece.
 |
| DC CONNECTOR in place |
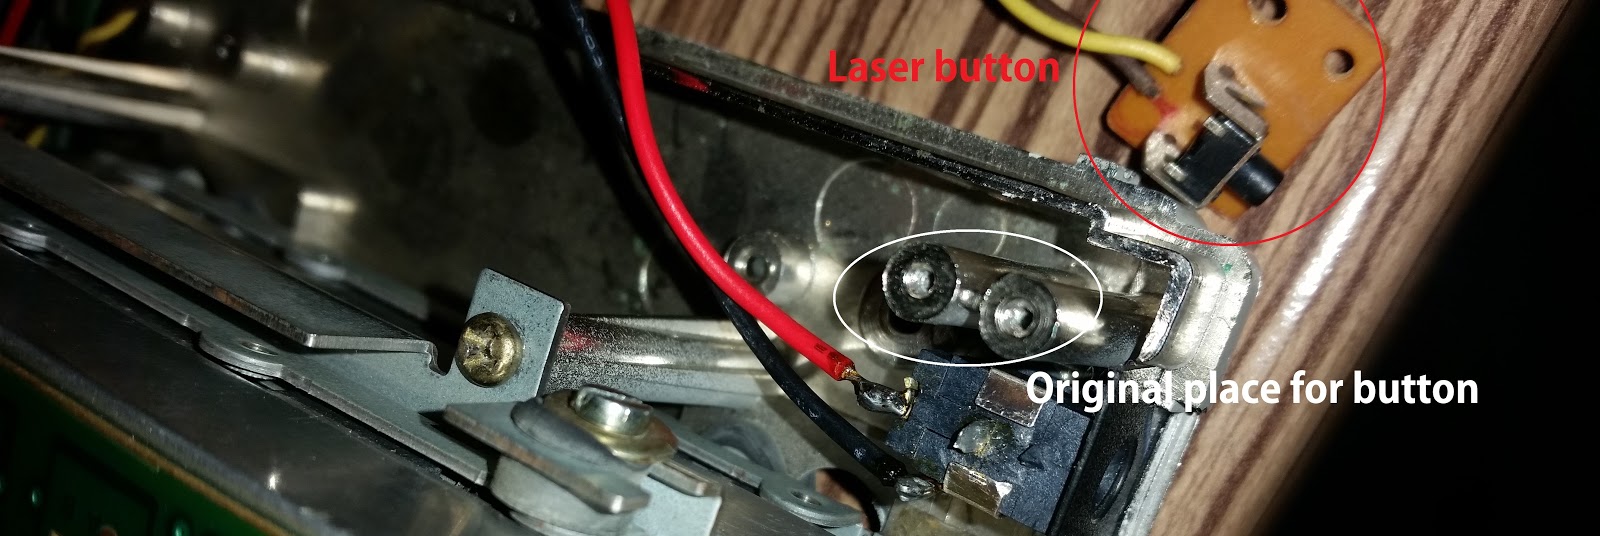
2) The DC POWER BUTTON is missing
Lucky me I found this YouTube video of the inside of a PC-4521 machine....
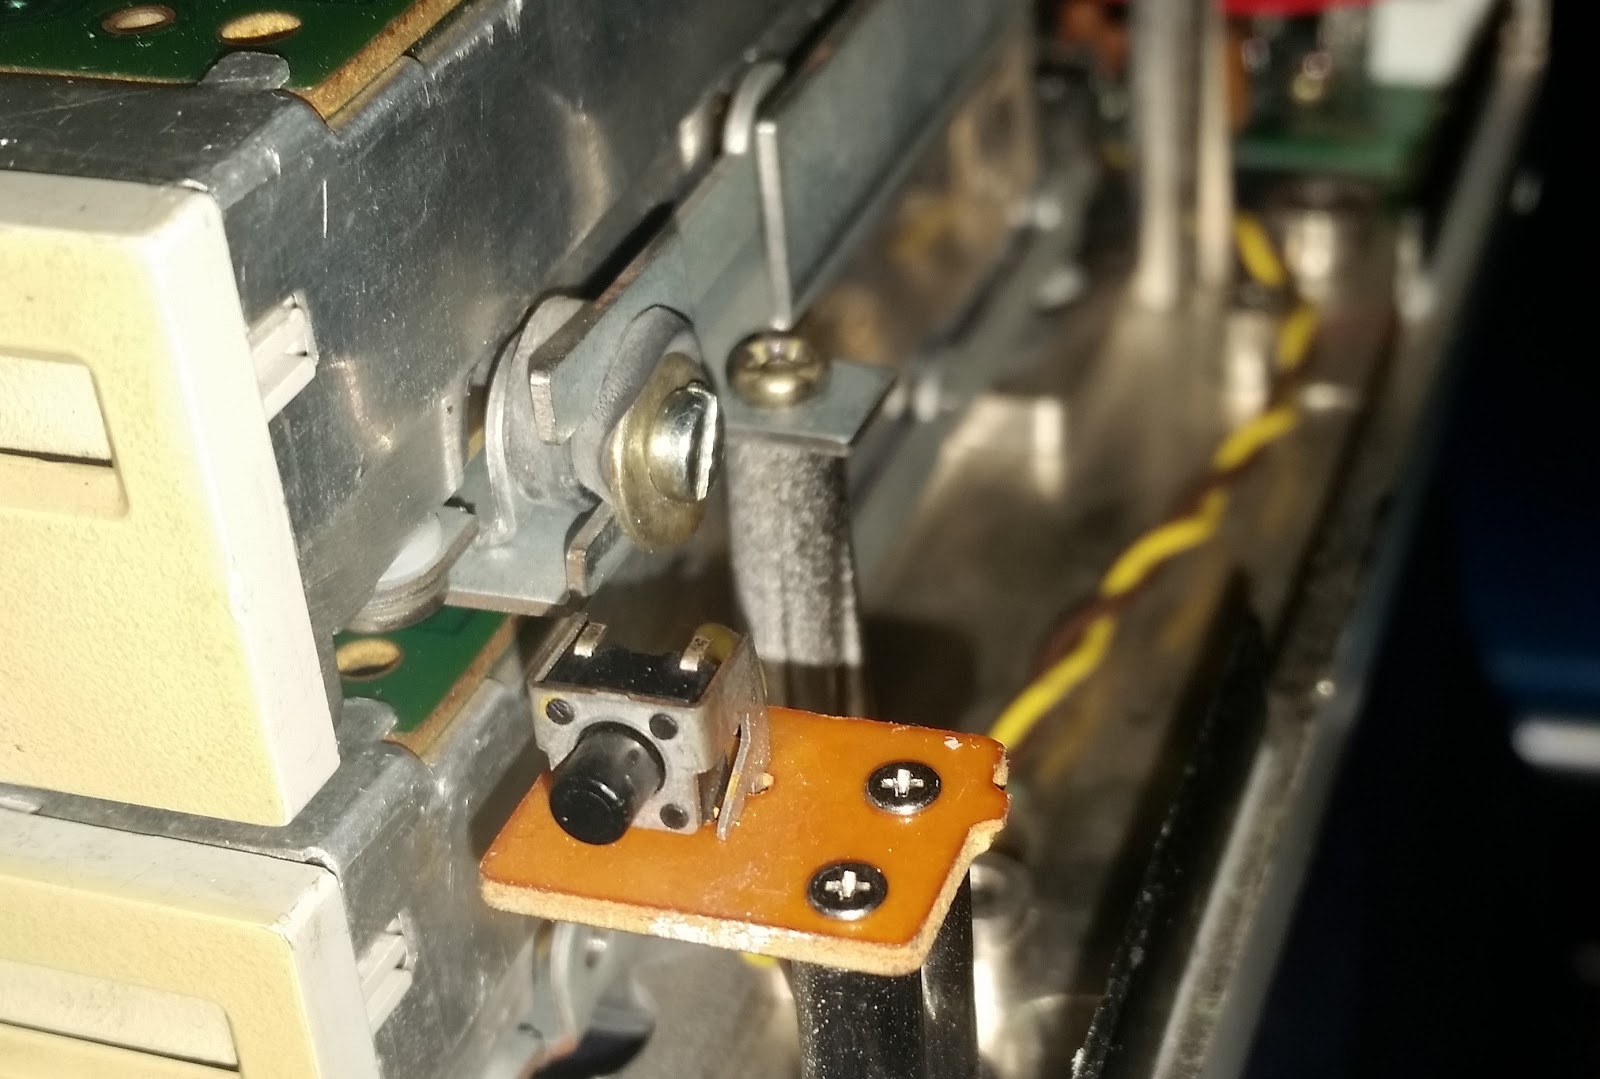
So as you can see on the video the Power Button is similar with what you will find in an old laser pointer. And ...I still have some laser pointers in a shoe box in my storage.
And this is the Output of 20 minutes of hard work :)
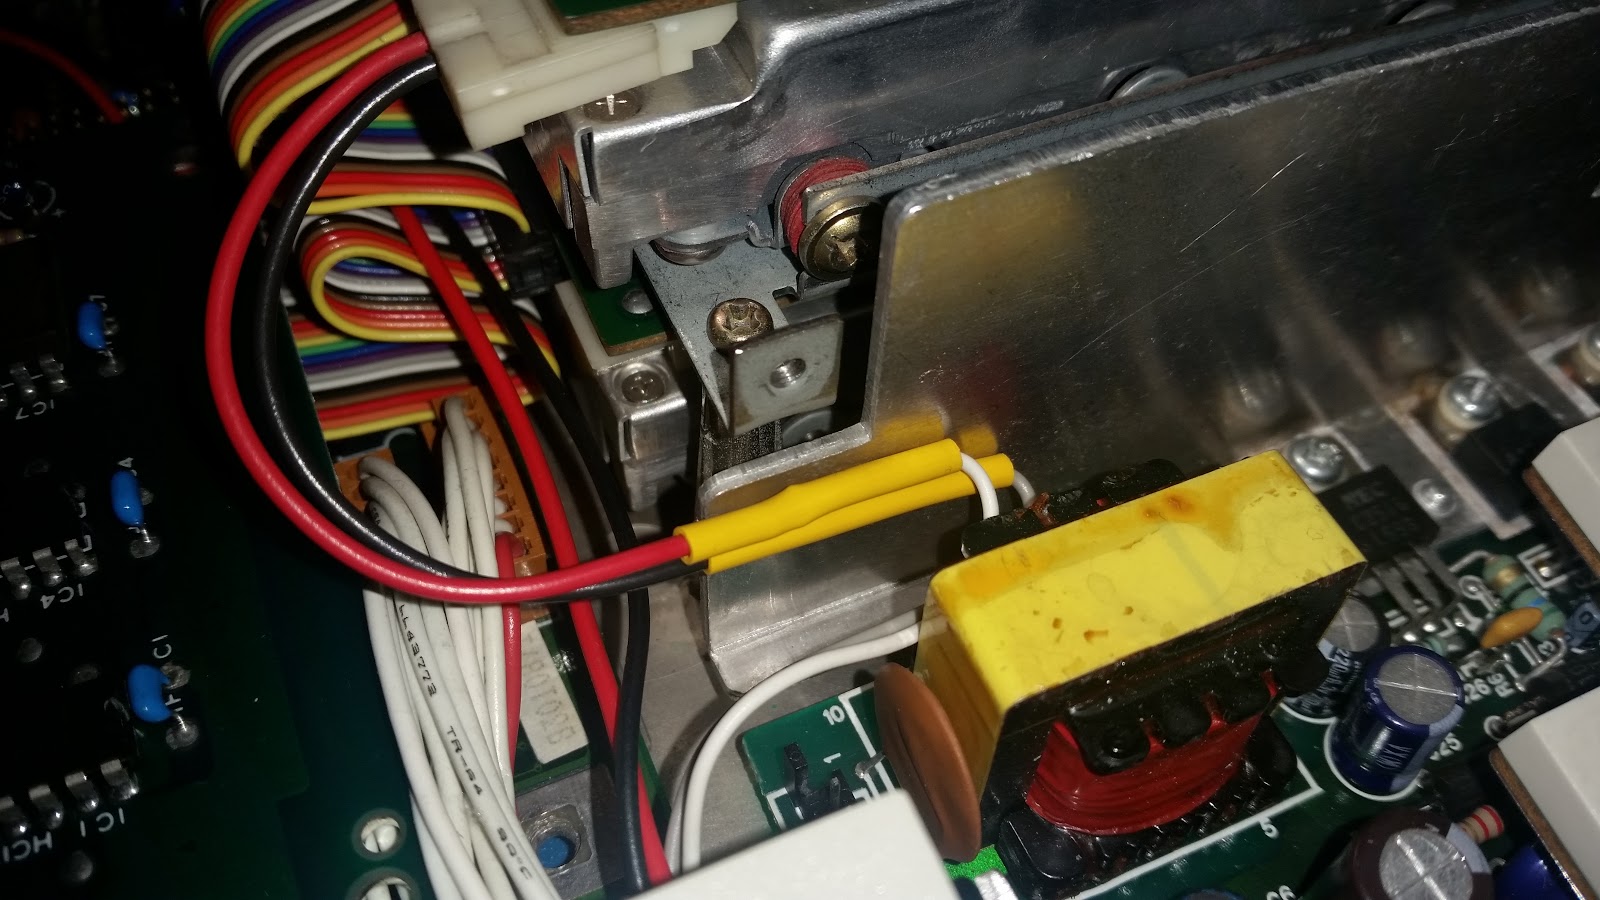
3) The Floppy drives power connectors are missing. Power cables from the Power Supply to the motherboard are damaged and a few blown capacitors
Looks like the one of the previous owner had tried to "repair the unit" by cutting half of the wires in order to power the motherboard from another power supply. I had spent some time figuring out what happened so here`s what repairs and fixes I had done:
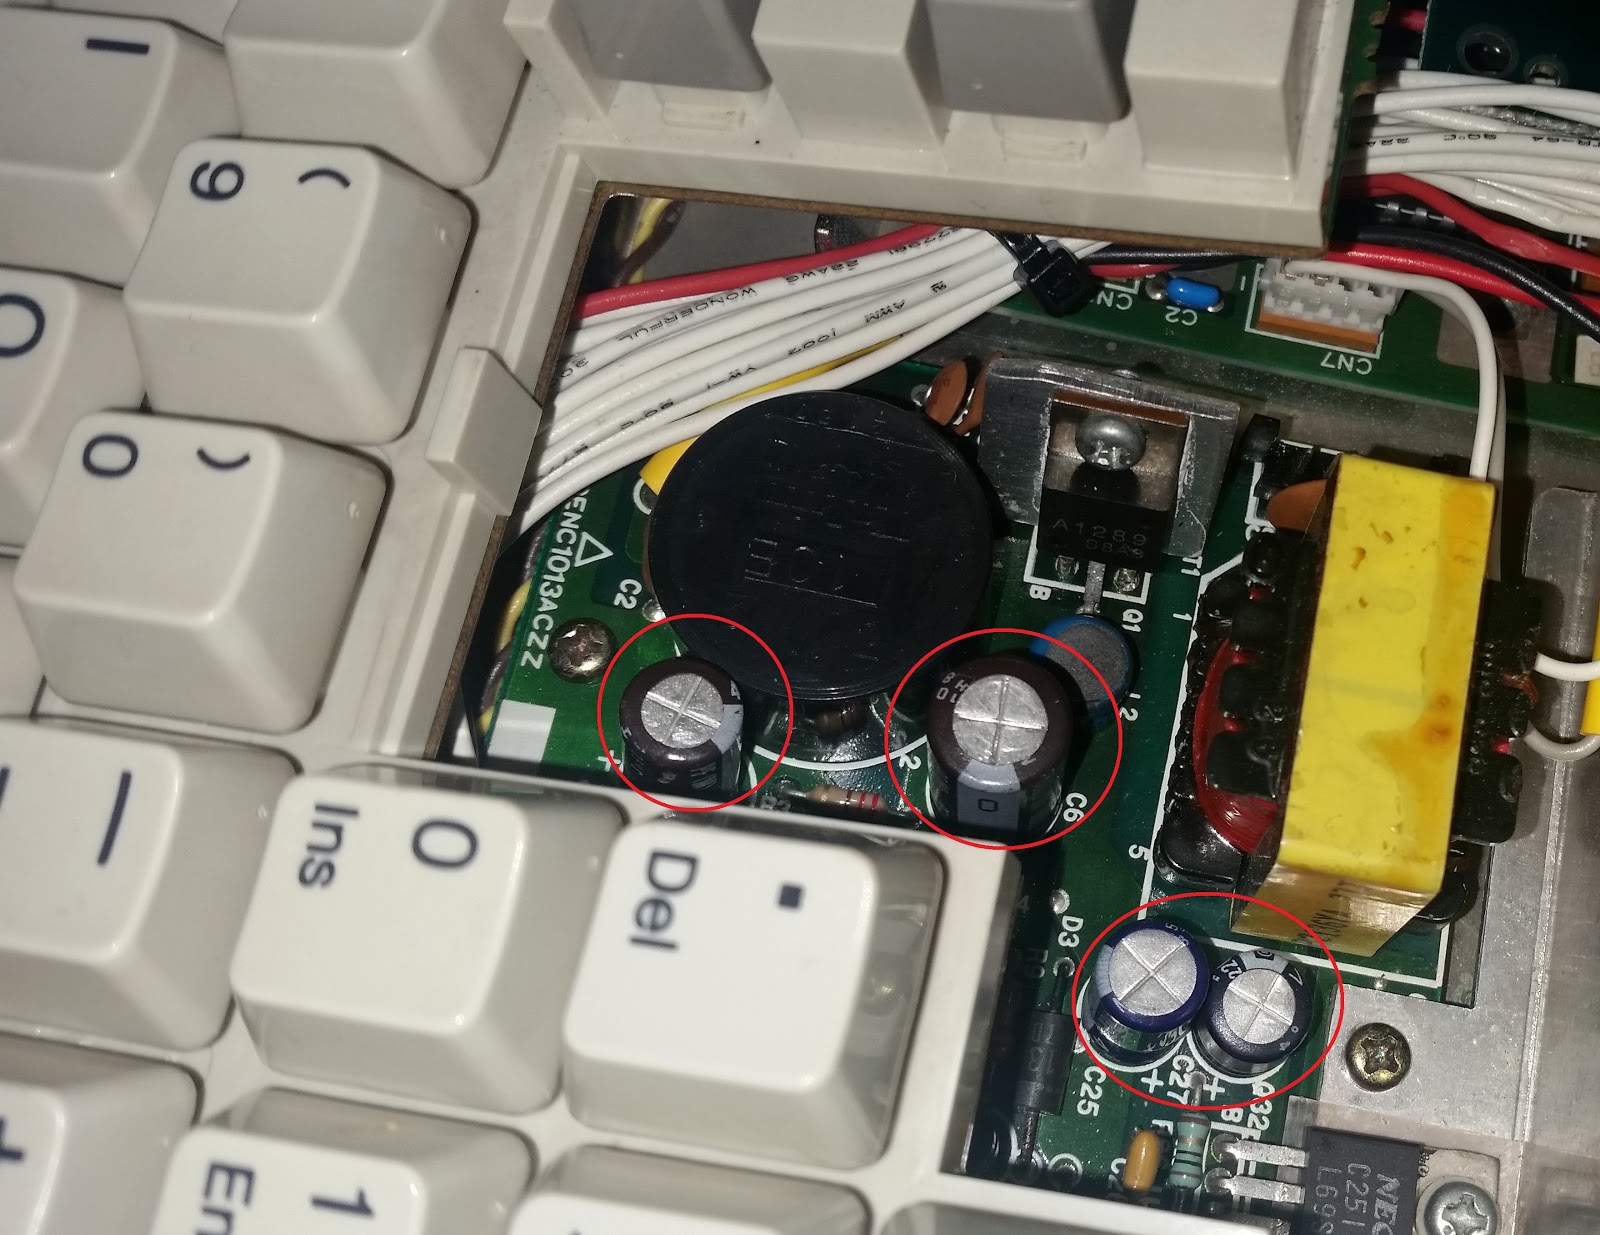 |
| Replaced marked in RED capacitors. It seems the power supply did not start because of those. |
 |
| New wiring for the Floppy Disk units. |
 |
| New wiring for the Floppy Disk units. |
NOW WE CAN FINALLY TEST THE UNIT!
3.....
2...
1..
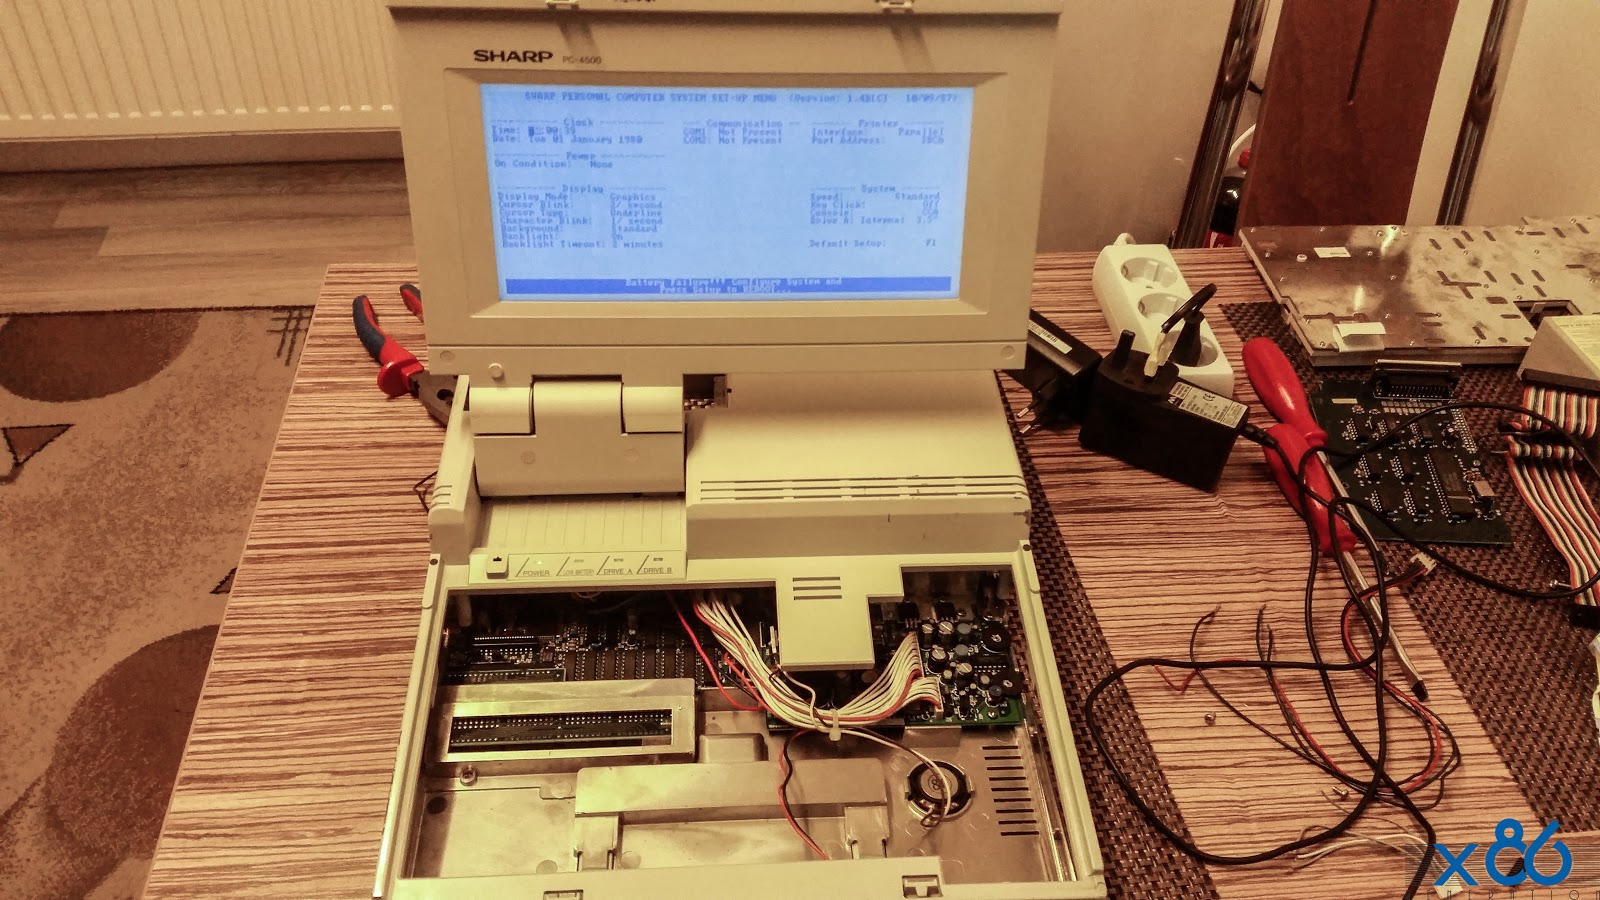 |
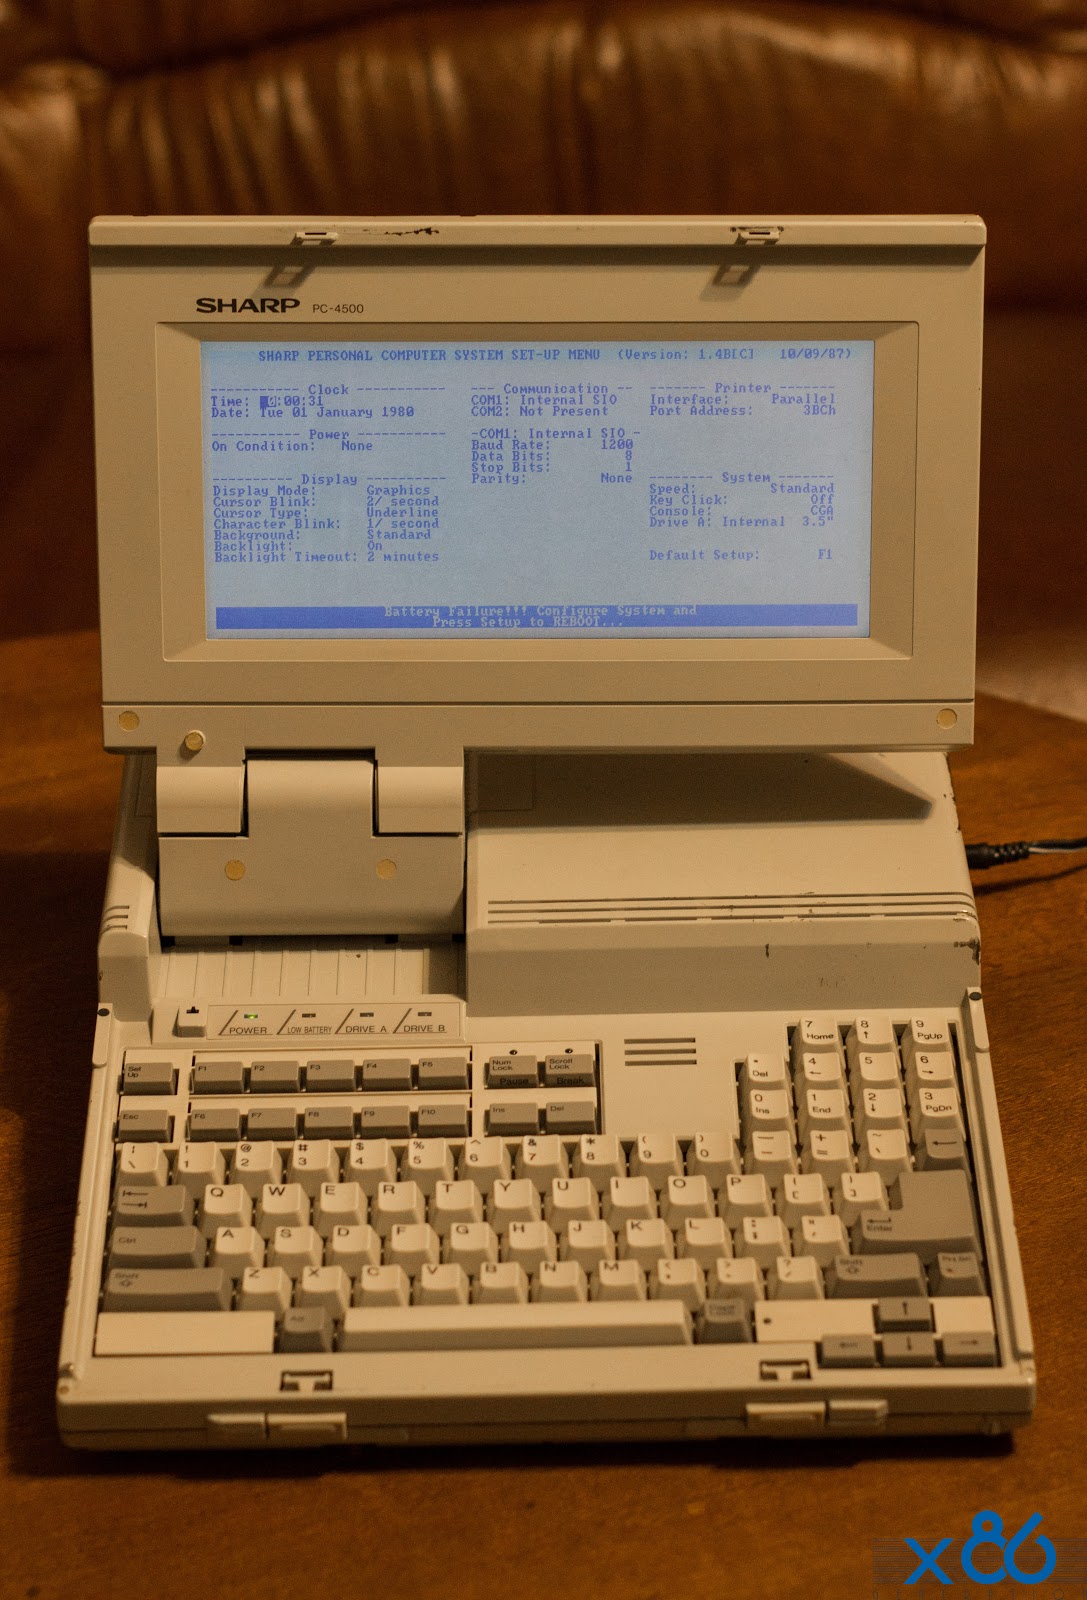
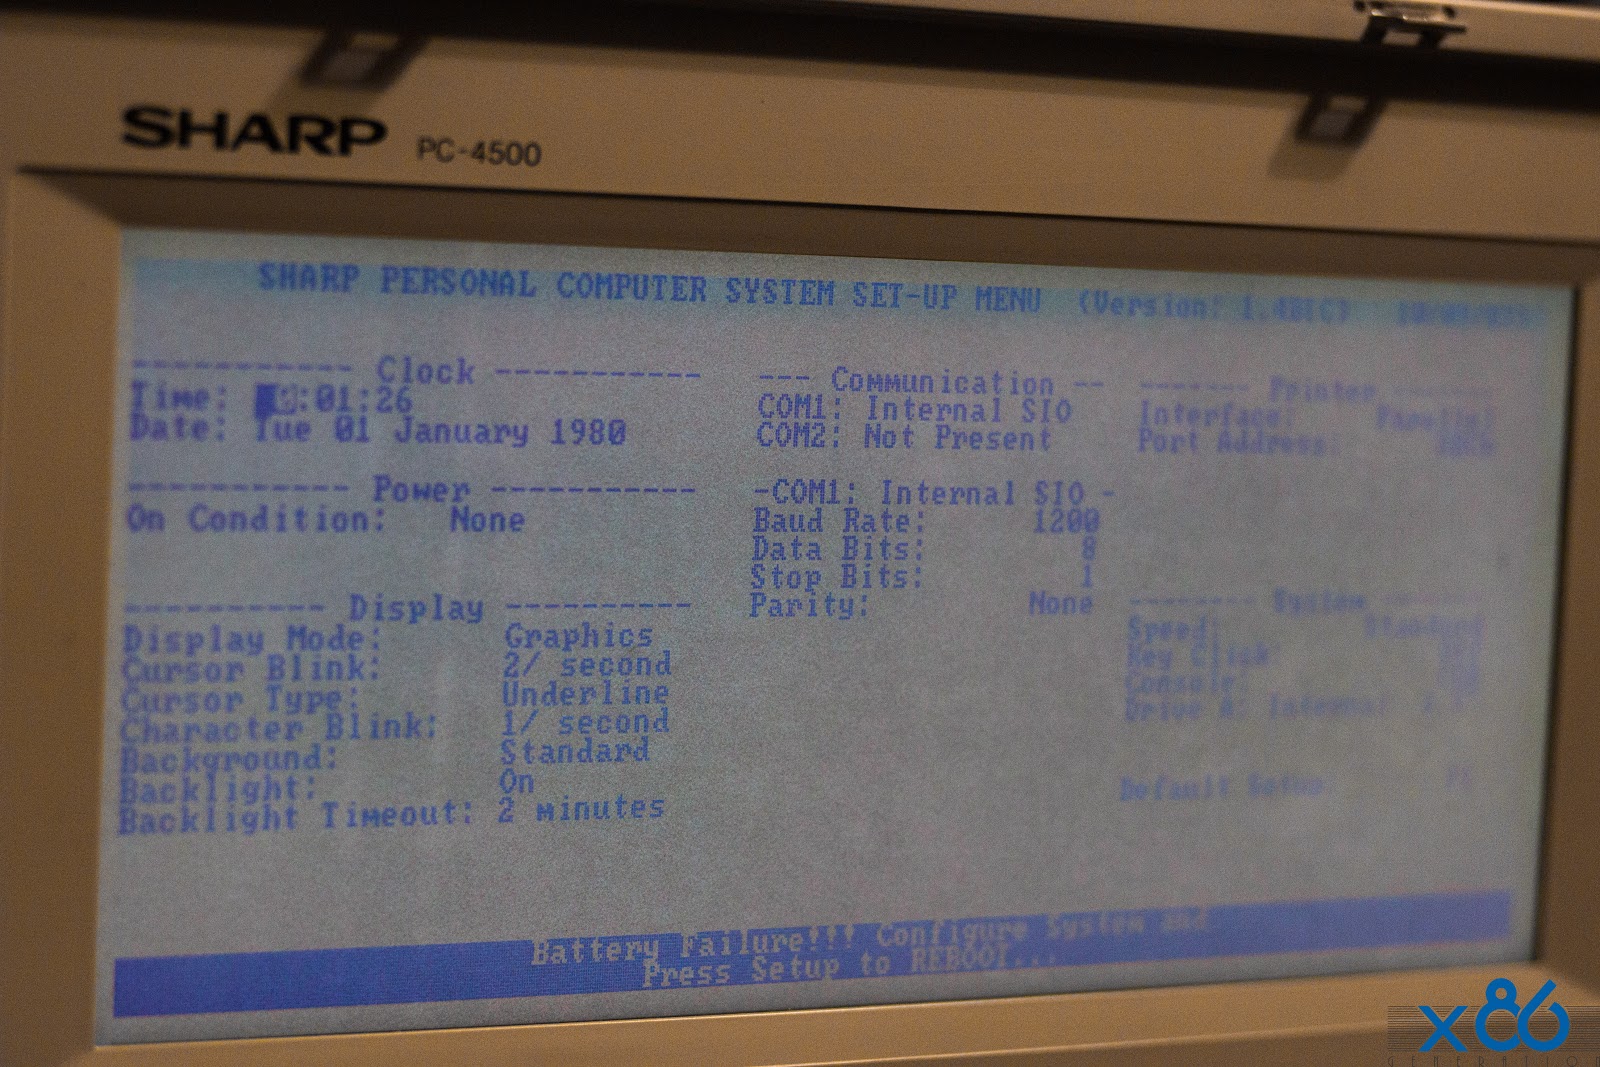
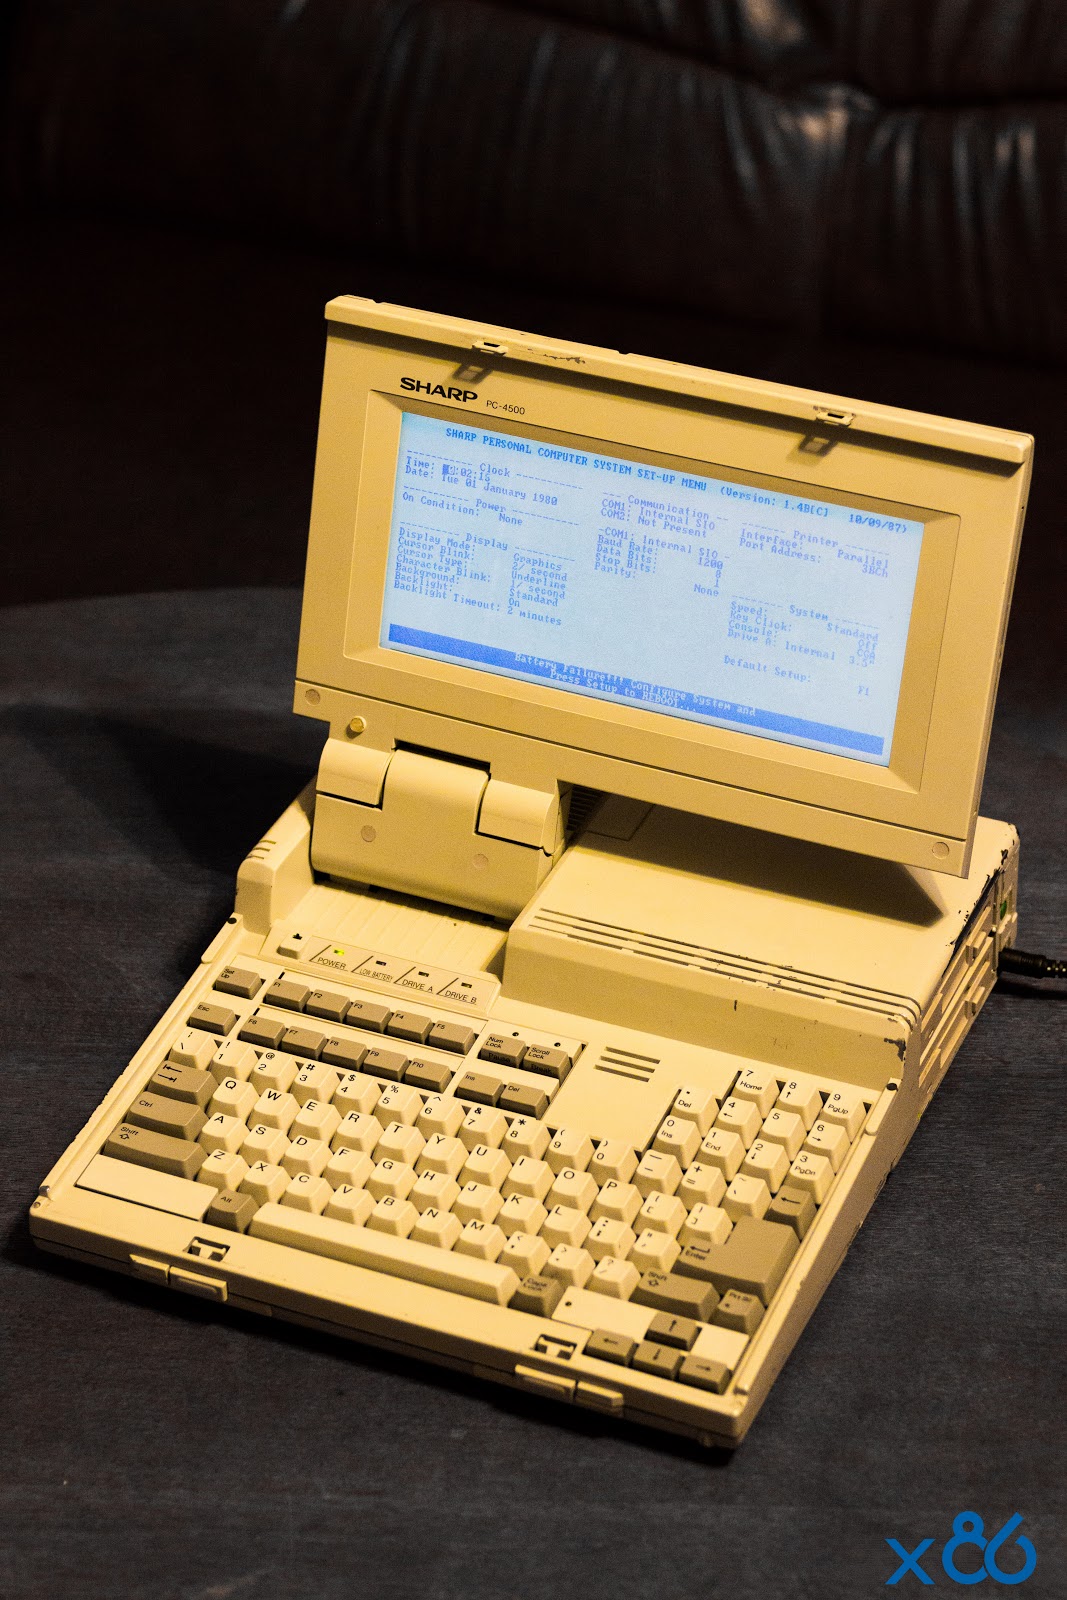
| POWERS ON! |
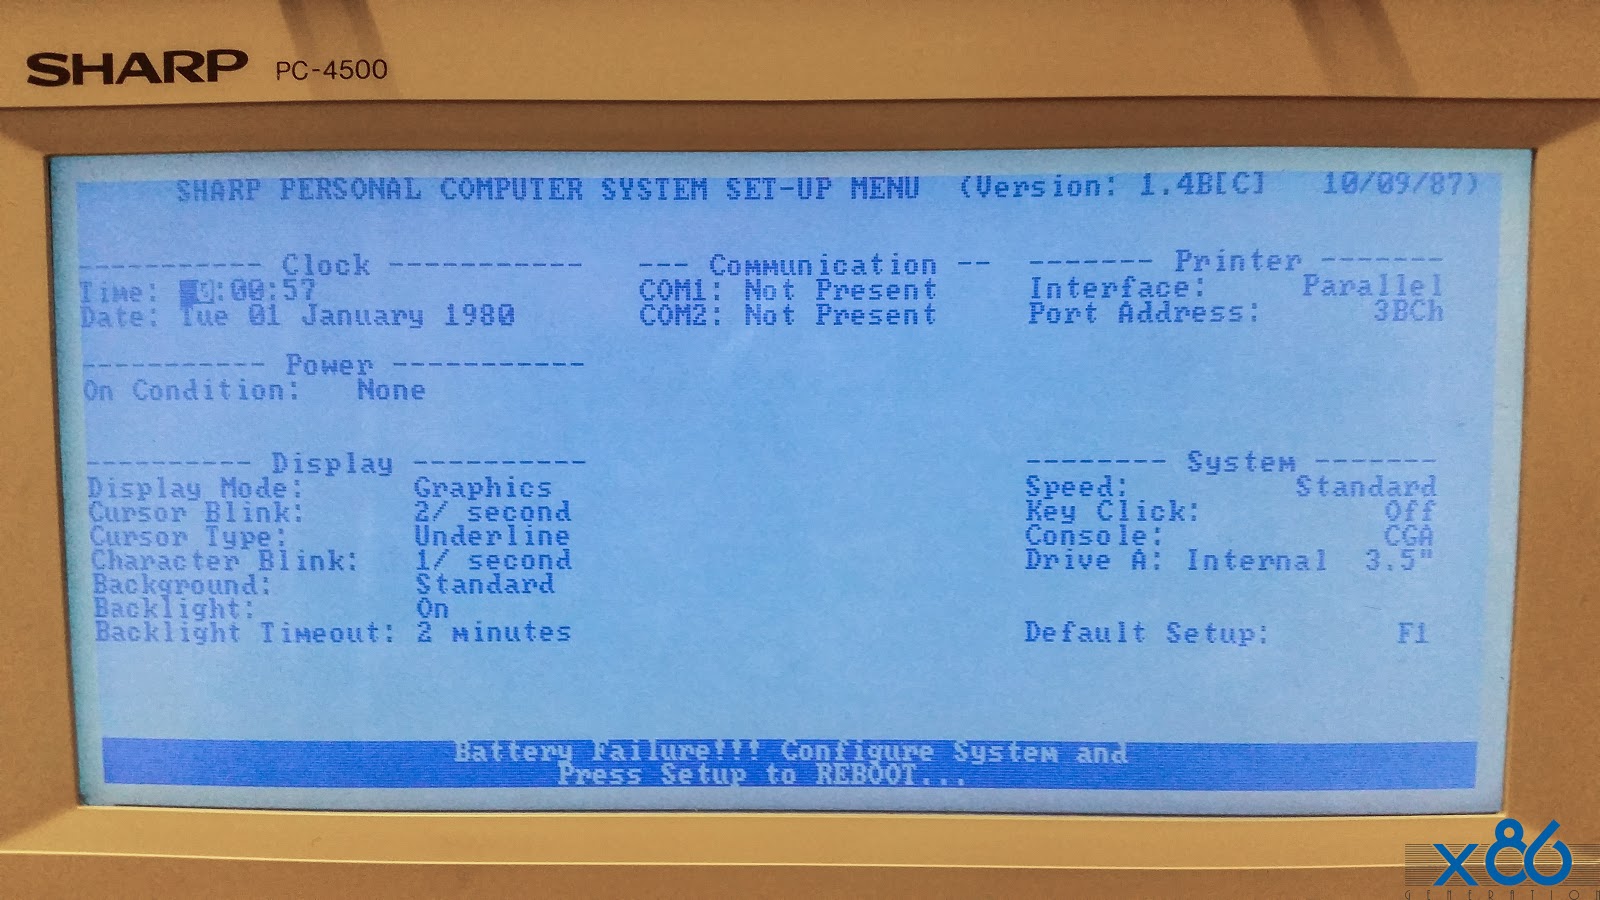 |
| 1 out of 2 Drives are only present. Date is 10 of September 1987 |
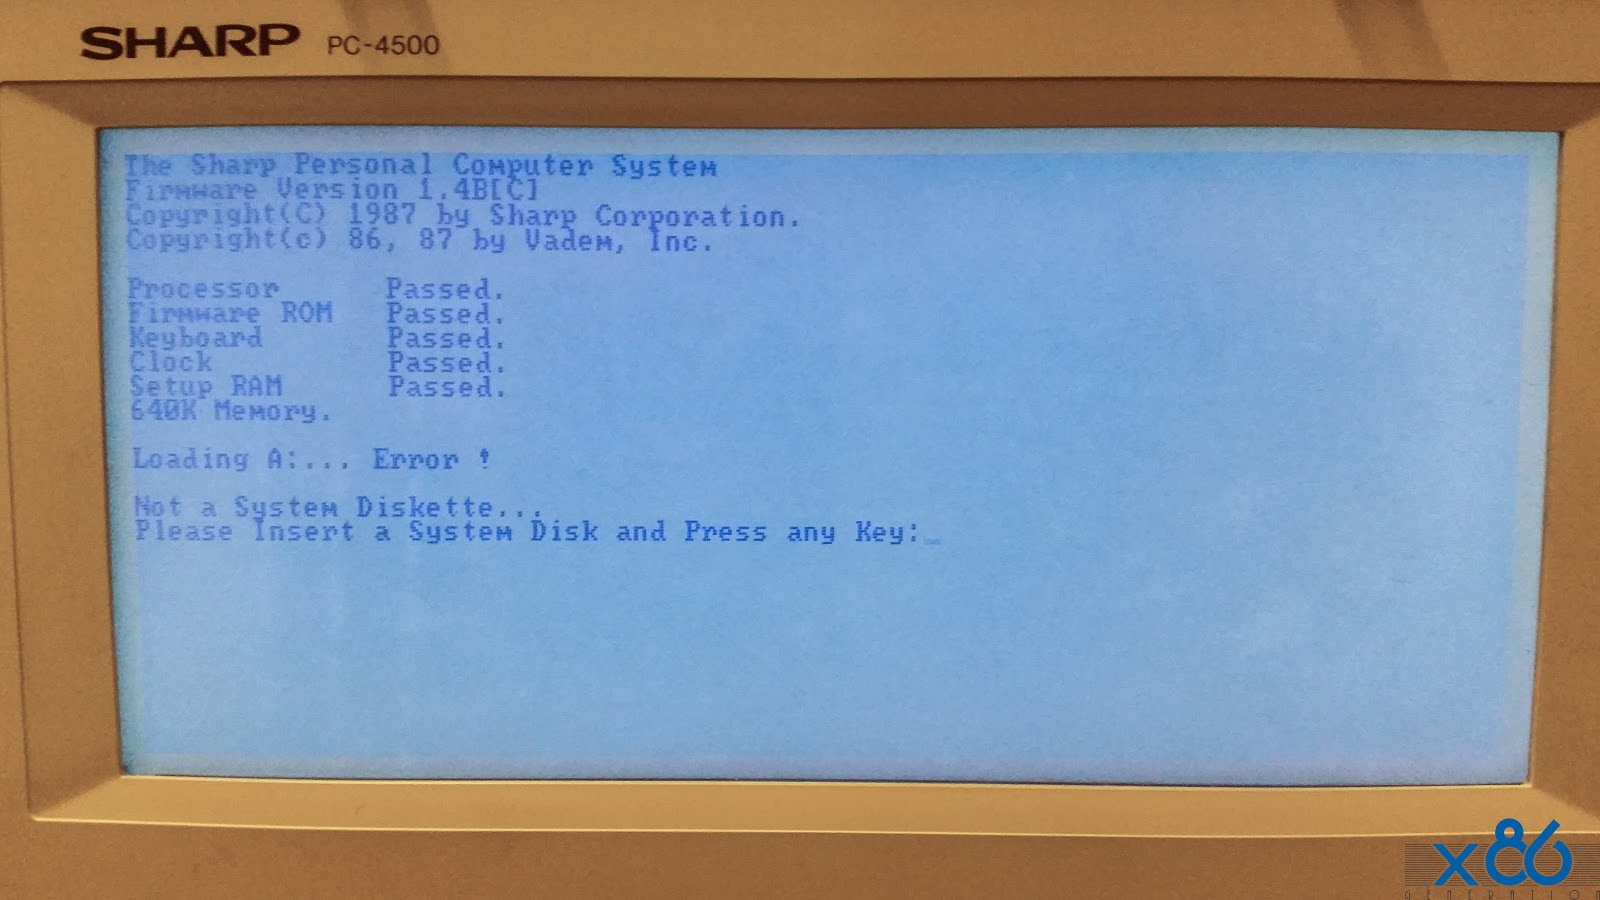
The weird thing is that the Keyboard is PASSED as test but no keyboard is attached at this moment...
There are some jumpers on this machine and I found some info on some forums... I really hope I can get the second FDD working so I can put MS-DOS 3.2 on 1 drive and some CGA apps on the other :)
I got the Jumper settings for SHARP PC-4500 and 4502 from a forum:
Link here.
"Here are the settings my PC4500 came with on the DIP switch bank on the bottom of the unit:
1 OFF
2 OFF
3 ON
4 OFF
5 ON
I would guess that one of these switches defines the presence of the second floppy drive and perhaps the presence of a full 640K memory card (I have both in this machine)."
The settings above suggest 640k memory and 2 FDD installed.

This restoration of the SHARP 4500 was a true success! :)
Amazing work! The feeling of reviving this ancient technology is extraordinary! As always your the best! Congratulation on bringing another beat up laptop to life!
ReplyDeleteGreat restore! I just purchased one of these, what version of MS-DOS did you use? I read somewhere it requires a custom SHARP MS-DOS boot diskette?
ReplyDeleteCheers, Martin...